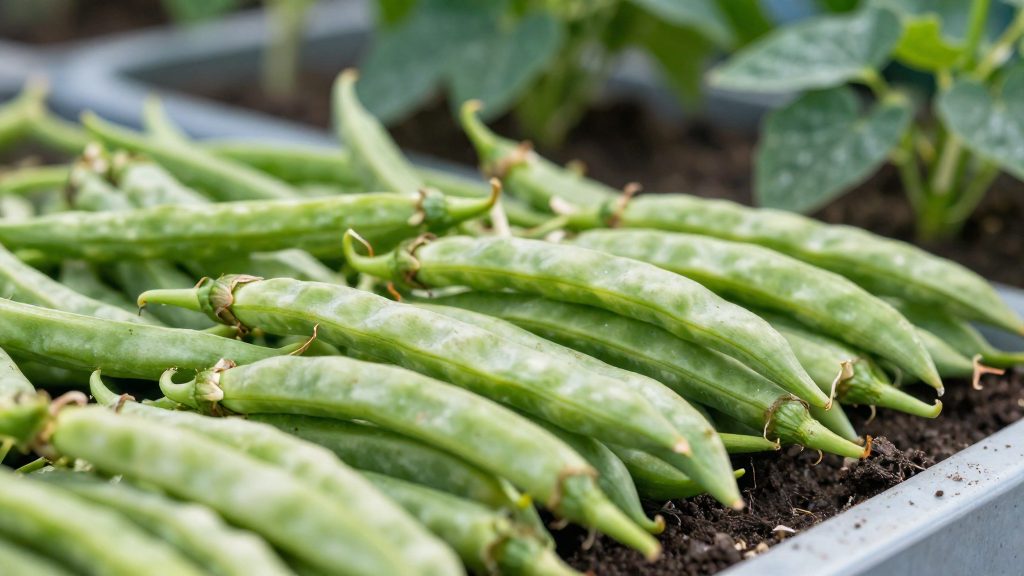
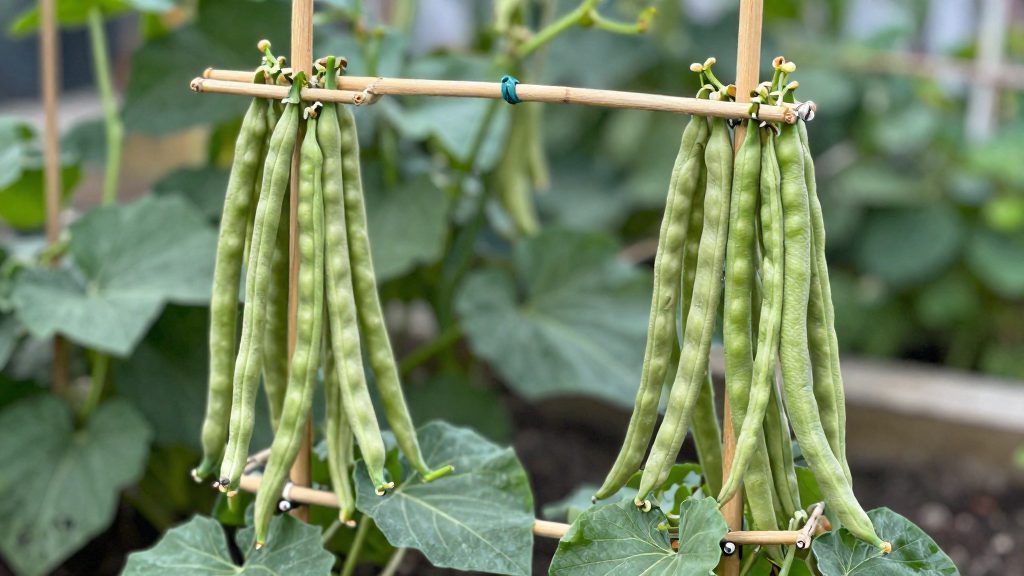
Bush and pole green beans differ mainly in growth habit. Bush types stay compact and are sown in rows across the bed. Pole types climb and need a trellis at least 6 to 8 feet tall. Choose bush beans for a small plot or a bed you can reach easily from the ground, and pole beans when you want to use vertical space on a limited footprint. According to Clemson Cooperative Extension (2023), snap beans are ready about 55 days after planting, depending on variety. The sources consulted do not give a yield per square foot, so compare plots by plant count and harvest duration instead.
Choosing bush or pole green beans
Growth habit and plant height
- Bush beans form compact plants that do not climb. They suit beds where the whole surface is planted and harvested from the ground.
- Pole beans climb and require a support, so plan the structure before sowing.
- Pole types use vertical space, so they can fit a limited footprint. Bush types need no climbing structure, which simplifies setup in small gardens.
Harvest window and yield
The harvest window is extended by sowing in succession.
Yield per square foot is not quantified in the sources consulted. Instead, estimate output by counting the plants you sow in each bed and the number of weeks the succession plantings will produce.
Varieties for small and large gardens
The official sources consulted do not name specific cultivars for small or large gardens. Select by growth habit instead:
- Small gardens and raised beds: bush types, which avoid the need for a tall trellis.
- Vertical use of space: pole types, which climb a trellis, including where the footprint is limited.
When should you plant organic green beans?
For bush beans, soil temperature is a more reliable guide than the calendar. Clemson Cooperative Extension (2023) advises waiting until the soil is at least 60°F at 4 inches deep before planting bush snap beans. Epic Gardening sets a slightly higher threshold, recommending sowing when the soil is above 65°F and 1 to 2 weeks after the average last frost. Both sources agree on the principle: wait for warm ground before sowing.
Soil temperature threshold before sowing bush beans
| Indicator | Value | Source |
|---|---|---|
| Minimum soil temperature | At least 60°F at 4 inches deep | Clemson Cooperative Extension (2023) |
| Preferred soil temperature | Above 65°F | Epic Gardening |
| Ideal germination temperature | 70–85°F | Epic Gardening |
Timing relative to the average last frost date
Epic Gardening recommends planting 1 to 2 weeks after the average last frost, once the soil has reached the temperature threshold. Use your local frost records to find that date, since it varies by region. Check the soil temperature as well, because a calendar date alone does not guarantee warm ground in a given year.
Cold soil risks for germination and seed rot
Germination is best at 70 to 85°F (Epic Gardening), so seed sown into soil below that range may be slower to emerge. Waiting for the soil to warm is the practical approach. The official sources consulted do not specify how long bean seed survives in cold, wet soil, nor do they directly link cold soil to seed rot.
Practical sequence:
- Confirm the average last frost date for your area.
- Measure soil temperature at 4 inches deep and confirm it has reached at least 60°F, ideally above 65°F.
- Sow seed 1 inch deep, as Clemson recommends for all types.
Preparing organic soil and compost
According to Clemson Cooperative Extension (2023), snap beans perform best in soil with a pH between 5.8 and 6.5. Preparing the bed before sowing lets you correct acidity, add organic matter, and check how water moves through the soil, so the plants start with the conditions they need. The steps below cover pH, compost and amendments, and drainage.
Target a pH between 5.8 and 6.5
- Test first. Use a home kit or send a sample to a local extension service to get a reading for your bed.
- Adjust only if needed. If the reading falls outside 5.8 to 6.5, use organic-approved amendments and wait for the results of a retest before sowing.
- Retest over time. Soil pH shifts with rainfall, fertilizing, and organic matter, so a bed that was correct last year may need checking again.
Add compost and organic amendments
Spread a layer of mature compost over the bed and work it into the top layer with a fork or spade. Use fully decomposed material, not fresh plant waste. The sources consulted do not specify a compost rate, so base the amount on your soil test results and the size of the bed. Leaf mold is another organic material that can be worked into the soil, and it can also be used as a surface mulch.
Improve drainage and soil structure
- Check drainage. Dig a test hole, fill it with water, and see how fast it empties. Beds that stay wet for long periods need better structure before planting.
- Open heavy soil. Clay soils compact easily. Working compost into them improves their texture and helps water move through.
- Support sandy soil. Organic matter helps sandy soil hold moisture and nutrients.
Waterlogged soil matters for this crop. Clemson Cooperative Extension (2023) lists root rot among the main diseases of snap beans, so a well-drained bed is one of the first defenses against it.
How do you sow and space green beans?
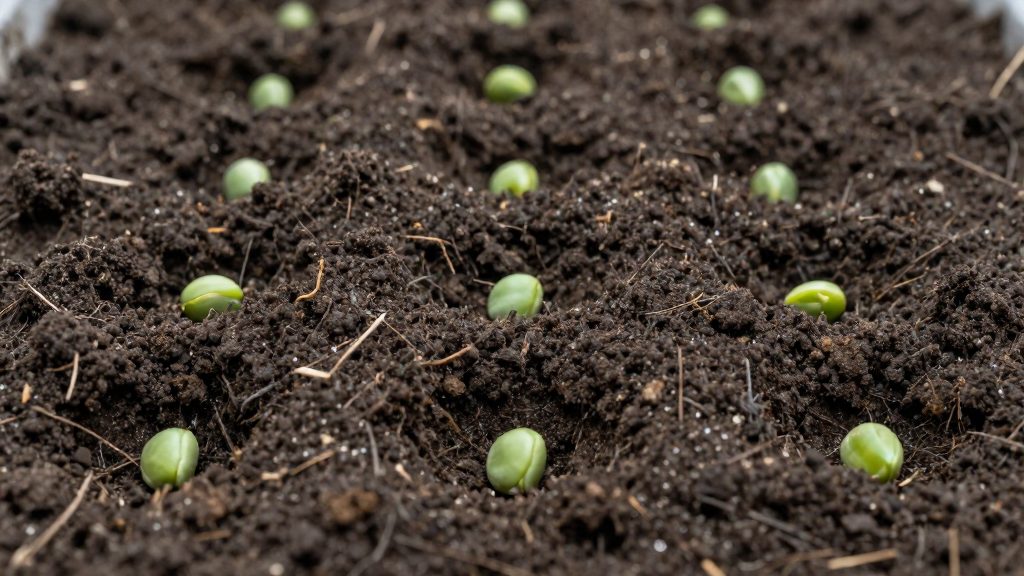
Green beans, whether bush or pole types, are sown at a depth of 1 inch for all types, according to Clemson Cooperative Extension (2023). Epic Gardening gives the same depth. Cover the seed with soil.
Spacing depends on the growth habit. Bush types are sown in rows, while pole types are grouped around a support. The table below summarizes the patterns from the consulted sources.
| Type | Layout | Seed spacing | Source |
|---|---|---|---|
| Bush beans | Rows 2 to 3 feet apart | Seeds 2 to 4 inches apart in the row | Clemson Cooperative Extension (2023) |
| Bush beans (alternative) | Rows 3 feet apart | Seeds 6 inches apart in the row | Epic Gardening |
| Pole beans | Circle of 5 or 6 seeds | 6 to 8 inches from each pole | Clemson Cooperative Extension (2023) |
The two sources differ slightly for bush beans, so a gardener can choose the tighter in-row spacing for a denser planting or the wider one for easier access. For pole beans, sow the five or six seeds in a circle around the base of each pole, keeping them evenly distributed rather than in a single line.
Early weeding matters most in the first six weeks after sowing, according to Clemson Cooperative Extension (2023). At this stage, young bean plants are small and weeds can outcompete them for light and nutrients. Two methods are recommended:
- Shallow cultivation: lightly scrape the soil surface with a hoe to cut off weed seedlings, keeping the blade close to the surface so bean roots are not disturbed.
- Hand-pulling: remove weeds by hand, especially those growing close to the seedlings where a hoe cannot reach without risk.
Hand-pulling and shallow hoeing are the methods the source recommends for keeping beds clear, especially in the first six weeks.
Watering, mulch and trellising
Green beans stay healthier when watering timing and support structures work together. Give pole varieties a trellis at least 6 to 8 feet tall.
Morning watering
Water in the morning so the foliage dries before dark. Wet leaves that stay damp overnight favor disease, so timing matters as much as the amount of water. Avoid evening watering for this reason.
- Water in the early morning, at the base of the plants, rather than late in the day.
- Water deeply but not too often, which encourages roots to grow downward. Drip irrigation suits this approach, and according to Epic Gardening it reduces both disease and evaporation.
- Keep the soil evenly moist without waterlogging it. Soggy soil stresses the roots.
Moisture priority during pod set
Moisture needs peak during pod set and pod development. Moisture matters most at this stage, so check the soil more often during these weeks, especially in dry weather.
Mulch
Apply a layer of compost or leaf mold around the plants. According to Epic Gardening, this kind of mulch helps reduce evaporation from the soil and limits disease. Keep the mulch slightly away from the stems so the base of the plants does not stay wet.
Trellising
Pole beans need a support structure, while bush types usually do not. The Clemson Cooperative Extension (2023) recommends the following setup for pole beans:
| Feature | Bush beans | Pole beans |
|---|---|---|
| Support structure | Not required | Trellis at least 6 to 8 feet tall |
A trellis keeps the pods off the ground.
How do you manage pests and disease naturally?
Organic control of green bean pests and diseases rests on three approaches: physical barriers, natural predators, and resistant cultivars chosen before sowing. The main pests are Mexican bean beetles, thrips, aphids, corn earworms and stink bugs. The main diseases are root rot, rust and gray mold.
Organic controls for the main pests
Physical barriers are the first line of defence. According to Epic Gardening, row covers prevent most bean pest infestations, so place them over newly sown rows.
| Pest | Organic approach |
|---|---|
| Mexican bean beetle | Row covers; inspect plants regularly |
| Thrips and aphids | Row covers; encourage beneficial predators such as ladybugs |
| Corn earworm and stink bug | Row covers as a physical barrier; regular inspection |
Beneficial predators such as ladybugs help reduce aphid populations and support control of other pests. Protecting them is the reason to avoid broad-spectrum treatments when a problem appears. If you use an organic spray, follow the label on the product, because the official sources consulted do not specify dosages for these products.
Preventing root rot, rust and gray mold
Crop rotation is a general good practice: avoid replanting green beans where a previous bean crop showed root rot, rust or gray mold. The sources consulted do not quantify its effect.
Choosing resistant cultivars
Choosing resistant cultivars is one preventive step against viral and fungal problems. Clemson Cooperative Extension (2023) advises selecting cultivars resistant to bean common mosaic virus and anthracnose. Check seed catalogue descriptions for these resistances before buying, and choose resistant types for beds where these diseases have occurred before.
Harvesting and succession planting
According to Clemson Cooperative Extension (2023), snap beans are ready to harvest about 55 days after planting, depending on the variety. Counting from the sowing date gives you a first-picking window, and checking pods from that point onward avoids missed harvests.
Days to harvest and pod maturity
- Days to harvest: Count from the day the seed went into the ground. Use 55 days as a general guide, and check the seed packet or catalogue for the specific variety, since timing varies by variety.
- Start checking pods a few days before the expected date, then inspect the plants every two or three days.
- Pick when pods are tender and fully formed. Pods that snap cleanly when bent are a common test. The sources consulted do not give a pod length or a numeric maturity threshold, so judge the first few pods by feel and compare them over the next few picks.
Succession sowing every 10 to 14 days
Clemson Cooperative Extension (2023) advises sowing again every 10 to 14 days to obtain a continuous harvest. Succession sowing spreads the crop over several weeks instead of one peak. The table below shows estimated first-picking dates, based on the 55-day average:
| Sowing round | Sowing day | Estimated first picking |
|---|---|---|
| 1 | Day 0 | About day 55 |
| 2 | Day 10 to 14 | About day 65 to 69 |
| 3 | Day 20 to 28 | About day 75 to 83 |
Each new round should be sown in its own row or bed section so that plants of different ages can be told apart. The sources consulted do not specify a last sowing date for the season, so keep an eye on the local frost calendar when planning later rounds.
Frequent picking
The sources consulted do not give a picking interval or quantify how picking affects later yield. In practice, gardeners pick regularly once pods are ready, and remove any pods that have grown too large, so the plant keeps setting new pods. To pick cleanly, hold the stem just above the pod with one hand and snap the pod off with the other, rather than pulling on the plant. Keep harvested pods cool and use them promptly.