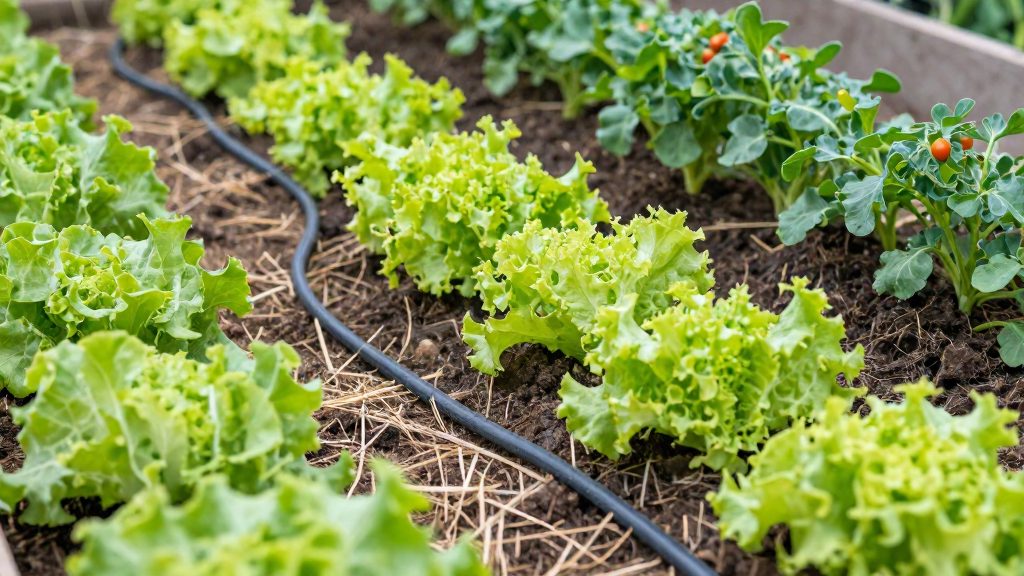
Drip irrigation suits organic vegetable beds because it delivers water slowly to the root zone, keeping the soil surface and foliage drier than overhead watering does. According to Iowa State University Extension, vegetable gardens generally need about 1 inch (about 2.5 cm) of water per week from rain or irrigation, and the initial soak should wet the soil to 10 to 12 inches deep. A drip system applies water in measured amounts, which makes that weekly target easier to meet without relying on synthetic inputs.
Why choose drip irrigation for an organic vegetable garden?
Drip irrigation gives the grower control over three things that matter in a productive bed: the volume of water, the place it lands, and the pressure at which it arrives.
Key settings at a glance
| Setting | Value (Iowa State University Extension) |
|---|---|
| Operating pressure | About 10 psi, where household supply is typically 25 to 35 psi |
| Filter screen | 100-mesh |
| Emitter spacing | About 12 inches (about 30 cm), or one per plant for widely spaced plants |
| Weekly water need | About 1 inch (about 2.5 cm), from rain or irrigation |
| Initial soak depth | 10 to 12 inches |
| Emitter rating | 1/2, 1 or 2 gallons per hour |
| Main line tubing | 1/2-inch or 1-inch |
Pressure regulation and filtration
Household faucets typically supply 25 to 35 psi (about 170 to 240 kPa), but drip systems usually run at about 10 psi (about 70 kPa). A gate valve or regulating disc lowers the pressure, and a gauge installed after the valve confirms the reading.
Layout: mainlines, laterals and emitters
Main lines and headers are typically 1/2-inch or 1-inch tubing, with laterals running down each row. In vegetable gardens and annual beds, place emitters about every 12 inches (about 30 cm), or one per plant for widely spaced plants. Emitters are commonly rated at 1/2, 1 or 2 gallons per hour (roughly 1.9, 3.8 or 7.6 L/h), so the rating and the spacing together determine how much water each plant receives per run.
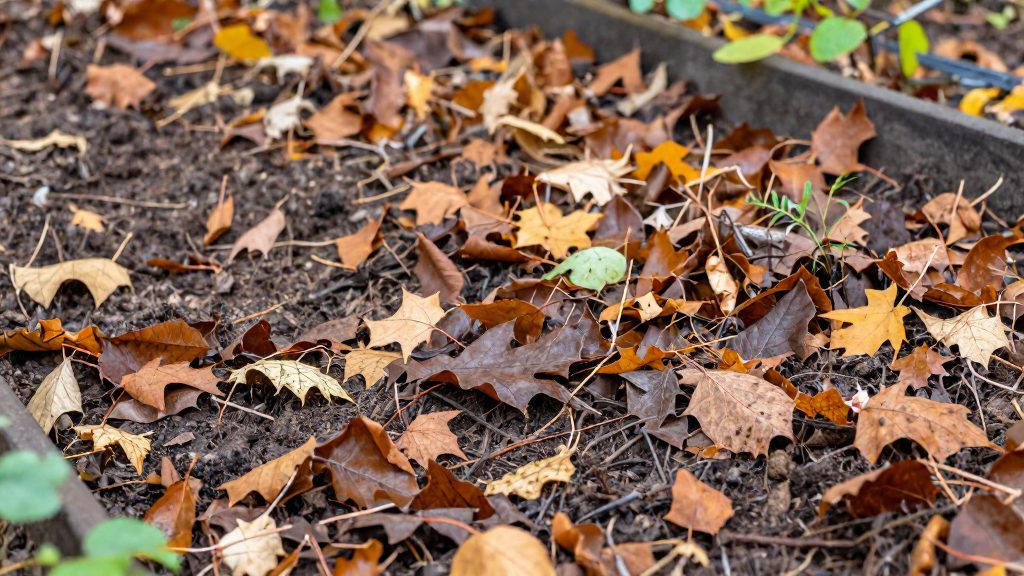
Lines can sit on the soil surface or under mulch. Soaker hoses should be mulched to reduce evaporation and UV damage. Organic mulch is a practical, non-chemical way to protect the soil surface and the tubing alike.
Building a watering routine
Start each week by counting rainfall, then water to make up the difference toward the target of about 1 inch (about 2.5 cm). Use the initial soak to 10 to 12 inches deep after planting to establish moisture at root depth. Adjust these figures to your region and climate, since rainfall and evaporation vary considerably from one area to another.
Basic Components of a Drip Irrigation System
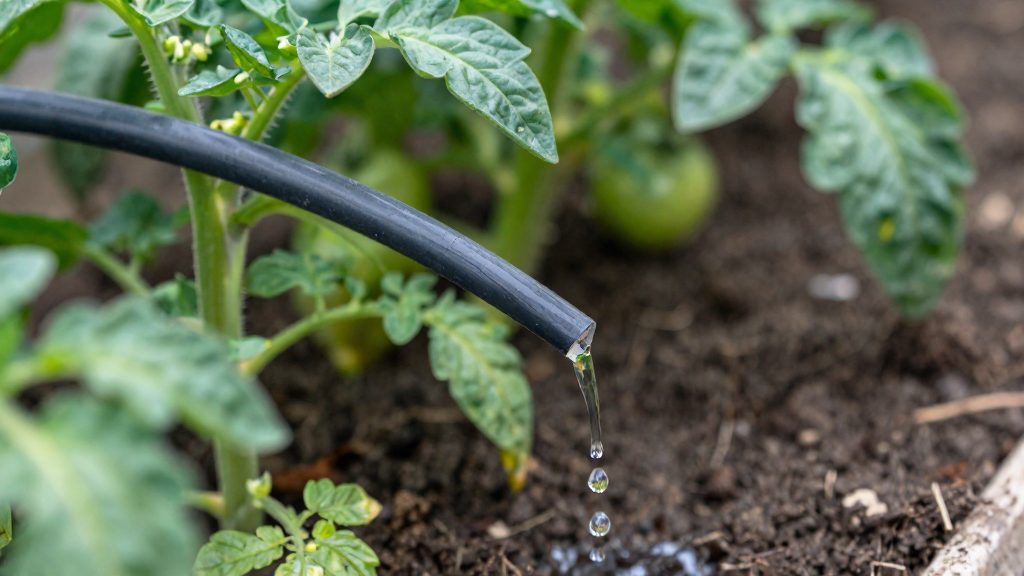
A drip system for organic vegetable beds has four functional parts: a pressure reduction stage at the tap, a filter, the supply tubing, and the emitters.
Pressure Control
Lower the pressure with a gate valve or a regulating disc. Place a gauge after the valve to confirm the reading rather than estimating it. This step matters because the system is designed for a much lower pressure than the household supply.
Filtration
Install a filter with a 100-mesh screen so that emitters do not clog. Check and clean the filter as part of routine maintenance, especially at the start of the season, when debris in the supply line is most likely to reach the emitters.
Tubing and Layout
- Main lines and headers: typically 1/2-inch or 1-inch tubing.
- Laterals: run down each row, one per bed row.
- Placement: lines can sit on the soil surface or under mulch.
Soaker hoses should be mulched to reduce evaporation and UV damage.
Emitters and Spacing
In vegetable gardens and annual beds, place emitters about every 12 inches (about 30 cm). For widely spaced plants, use one emitter per plant instead. Emitters are commonly rated at 1/2, 1, or 2 gallons per hour. The official sources consulted do not specify how to choose a flow rate for a given bed size or soil type.
Quick Reference
| Component | Specification |
|---|---|
| Main line and header | 1/2-inch or 1-inch tubing |
| Laterals | Run down each row |
| Filter | 100-mesh screen |
| Operating pressure | About 10 psi (household supply 25-35 psi) |
| Emitter spacing, vegetables | About every 12 inches (about 30 cm), or one per plant for widely spaced plants |
| Emitter rating | 1/2, 1, or 2 gallons per hour |
Pressure and filtration: the essential settings
Pressure and filtration decide whether a drip system waters a bed evenly or clogs and wastes water. According to Iowa State University Extension, household faucets typically supply 25-35 psi, but drip systems usually run at about 10 psi. The pressure must therefore be reduced before water reaches the lines.
Pressure reduction is the first setting to make. A gate valve or regulating disc lowers the pressure, and a gauge placed after the valve confirms the result. Check the gauge after the valve rather than at the faucet, because the faucet reading does not show what the emitters receive.
Filtration protects the emitters. Install a filter with a 100-mesh screen so that emitters do not clog. Open the filter and clean the screen by hand at regular intervals. Removing debris physically keeps the system running without chemical treatments, which suits an organic garden.
Once pressure and filtration are set, the layout follows. The table below summarises the settings from Iowa State University Extension.
| Setting | Recommended value |
|---|---|
| Household faucet supply pressure | 25-35 psi |
| Drip system operating pressure | About 10 psi |
| Filter screen | 100-mesh |
| Emitter spacing in vegetable beds | About every 12 inches (about 30 cm), or one per plant for widely spaced plants |
| Main lines and headers | 1/2-inch or 1-inch tubing |
Emitters are commonly rated at 1/2, 1 or 2 gallons per hour, so check the rating before counting how many emitters a line can supply. Main lines and headers feed laterals that run down each row, and these laterals can sit on the soil or under mulch.
How to lay out lines and emitters?
A drip layout works best when the main line feeds straight rows, laterals run along each bed, and emitters sit at a fixed spacing. According to Iowa State University Extension (Yard and Garden), main lines and headers are typically 1/2-inch or 1-inch tubing, with laterals running down each row. The lines can sit directly on the soil or under mulch. The layout should follow the bed plan, so every row gets water from the same supply point.
Before laying out the lines, reduce the pressure. Household faucets typically supply 25-35 psi, but drip systems usually run at about 10 psi. A gate valve or regulating disc lowers the pressure, and a gauge installed after the valve confirms the reading. Install a filter with a 100-mesh screen so the emitters do not clog.
Place the emitters according to the crop spacing. In vegetable gardens and annual beds, emitters go about every 12 inches (about 30 cm). For widely spaced plants, place one emitter per plant instead. Emitters are commonly rated at 1/2, 1 or 2 gallons per hour, so choose the rating that matches the number of emitters on each lateral and the flow your supply can provide.
Keep the lines in a fixed position so the emitters stay over the root zone. Mulch the lines to reduce evaporation and UV damage, a point the same source makes specifically for soaker hoses.
| Component | Recommended specification |
|---|---|
| Main line and header | 1/2-inch or 1-inch tubing |
| Laterals | One per row, running down the bed |
| Emitter spacing | About every 12 inches (about 30 cm), or one per widely spaced plant |
| Emitter rating | 1/2, 1 or 2 gallons per hour |
| Filter | 100-mesh screen |
| Operating pressure | About 10 psi |
How much water do vegetables need?
Vegetable gardens generally need about 1 inch (about 2.5 cm) of water per week from rain or irrigation combined. For the first watering after planting, the soil should be wetted to 10-12 inches deep (about 25-30 cm) so that roots start deep in the bed. Rainfall counts toward the weekly total, so a drip system only needs to supply the shortfall. Watering should keep the root zone moist without saturating it.
Weekly water target
| Parameter | Figure | Notes |
|---|---|---|
| Weekly water need | About 1 inch (about 2.5 cm) | From rain plus irrigation, according to Iowa State University Extension |
| Initial soak depth | 10-12 inches (about 25-30 cm) | Applied once, when the bed is first watered |
| Emitter spacing in vegetable beds | About every 12 inches (about 30 cm) | Or one emitter per plant for widely spaced plants |
Initial soak
- Run the system long enough for water to penetrate to 10-12 inches (about 25-30 cm).
- Check the depth by digging a small hole with a trowel or spade after watering. Dry soil below that depth means the soak needs to continue.
- Repeat the check in a few days to confirm that the wetted zone has held.
Matching emitter output to the bed
Emitters are commonly rated at 1/2, 1 or 2 gallons per hour. The rating determines how long each zone must run to deliver the weekly target. A low-rated emitter needs longer run times, and a high-rated one delivers the same volume in less time. Use a rain gauge or an open container placed in the bed to measure how much water the system actually applies, then adjust run time until the gauge reads about 1 inch (about 2.5 cm) per week, minus any rain recorded.
Pressure and filtration
Drip systems usually operate at about 10 psi, while household faucets typically supply 25-35 psi. A gate valve or regulating disc lowers the pressure, and a gauge placed after the valve confirms the setting. Pressure control keeps emitter output close to its rated value and prevents damage to the tubing. Install a filter with a 100-mesh screen so that emitters do not clog.
Mulch and drip irrigation: a winning combination
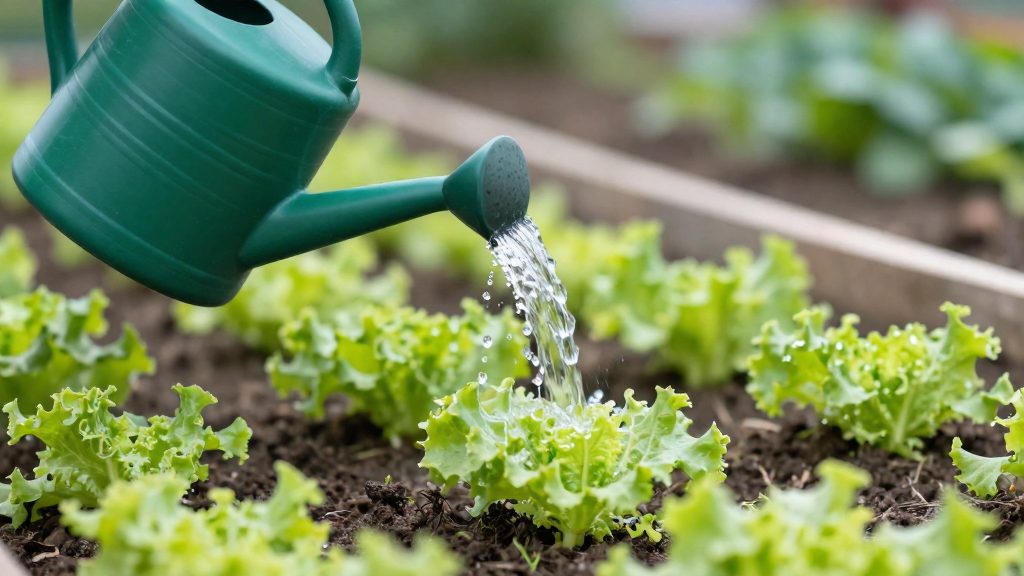
Mulch and drip irrigation work well together in organic vegetable beds because the mulch keeps water in the root zone while the drip lines deliver it at the soil surface. According to Iowa State University Extension – Yard and Garden, drip lines can sit on the soil or under mulch, and soaker hoses should be mulched to reduce evaporation and UV damage. Vegetable gardens generally need about 1 inch (about 2.5 cm) of water per week from rain or irrigation, so a mulched drip system helps you meet that target with less loss.
Why the two methods complement each other
- Evaporation control: Water that lands on bare soil evaporates quickly in sun and wind. A layer of organic mulch over the drip line slows this loss, so more of the water reaches the roots.
- UV protection for tubing: Exposed polyethylene tubing degrades under sunlight. Covering lines with mulch extends their service life, as the extension guidance notes for soaker hoses.
- Soil structure: Mulch limits surface crusting, which helps water infiltrate the soil instead of running off.
Placing the lines under mulch
| Step | Action | Reference figure |
|---|---|---|
| Main line and headers | Lay 1/2-inch or 1-inch tubing as the main supply | Iowa State University Extension |
| Laterals | Run laterals down each row, on or under the mulch | Iowa State University Extension |
| Emitter spacing | Place emitters about every 12 inches (about 30 cm), or one per plant for widely spaced plants | Iowa State University Extension |
| Initial soak | Wet the soil to 10–12 inches deep | Iowa State University Extension |
Lay the laterals before spreading the mulch so you can check every connection and emitter position. Organic mulches such as straw or shredded leaves are common choices in organic beds; the official sources consulted do not specify a recommended mulch depth, so adjust the layer to the material you have and check soil moisture by hand after watering.
Pressure and filtration before mulching
Household faucets typically supply 25–35 psi, but drip systems usually run at about 10 psi. A gate valve or regulating disc lowers the pressure, and a gauge installed after the valve confirms the setting, according to Iowa State University Extension – Yard and Garden. Install a filter with a 100-mesh screen so emitters do not clog, particularly when the system carries water from a tank or a surface source. Clean the filter before you cover the lines, since access becomes harder once mulch is in place.
Emitters are commonly rated at 1/2, 1 or 2 gallons per hour. Choose the emitter rating, then measure what the system delivers and adjust run time until the bed receives the weekly target.
How to drain and store a drip system before freezing weather?
The official sources consulted do not specify frost dates, freezing depths, or temperature thresholds for Canadian regions, so set your timing with a local extension service or a regional frost-date reference. The steps below apply the layout and component guidance from Iowa State University Extension – Yard and Garden to the task of getting a drip system through cold periods.
The main risk is water left inside the system. Water that freezes in tubing, filters, or emitters can split fittings, so the goal is to empty the lines before cold weather arrives. The key points are:
- Drain the whole system: open end caps or drain points at the low ends of the laterals and headers so that no water remains in the tubing.
- Remove the filter and pressure controls: store the 100-mesh filter, the gate valve or regulating disc, and the pressure gauge indoors. These are the parts most often damaged by trapped water.
- Store the tubing dry: coil the main lines, headers, and laterals and keep them under cover. Lines that sit on the soil or under mulch should be checked for any water before they are stored.
- Inspect the soaker hoses in spring: soaker hoses should stay mulched during the season, as the source recommends, and should be checked for cracks before reuse.
| Component | Guidance from the source | Winter step (general practice) |
|---|---|---|
| Main lines and headers (1/2-inch or 1-inch tubing) | Can sit on soil or under mulch | Drain, then store dry |
| Laterals | Run down each row | Drain at the low ends |
| Filter (100-mesh screen) | Keeps emitters from clogging | Clean, dry, and store indoors |
| Gate valve or regulating disc and gauge | Lowers pressure to about 10 psi | Remove and store to avoid cracking |
Maintenance and common mistakes
Most drip problems in organic vegetable beds come from three causes: pressure that is too high, a filter that is missing or too coarse, and emitters that are not matched to the plants. Regular checks catch these early, and most fixes need only a valve adjustment, a filter cleaning, or a change of spacing. According to Iowa State University Extension (Yard and Garden), the reference values below are the ones to check against.
| Element | What to check | Reference value |
|---|---|---|
| Line pressure | Gauge placed after the valve | About 10 psi for drip systems |
| Filter | Screen condition and cleaning | 100-mesh screen |
| Emitter spacing | Position along each row | About every 12 inches (about 30 cm), or one per plant for widely spaced plants |
| Weekly water | Rain plus irrigation | About 1 inch (about 2.5 cm) per week |
| Initial soak | Depth of wetting after installation | 10-12 inches deep |
| Mulch | Cover over lines | Soaker hoses should be mulched |
Pressure regulation is the most common error. Household faucets usually supply 25-35 psi, but drip systems usually run at about 10 psi. Lower the pressure with a gate valve or regulating disc, then confirm the result with a gauge placed after the valve. Without this step, emitters can deliver water unevenly and tubing can be damaged.
The filter screen protects emitters from clogging. Clean the filter at regular intervals and keep a 100-mesh screen in place. Clogged emitters are usually cleared by flushing the line and cleaning the filter with clean water. Harsh chemical treatments are not needed for routine clogs in an organic garden.
Other common mistakes to avoid:
- Watering too shallowly. After installation, soak the soil to 10-12 inches deep. Afterwards, aim for about 1 inch of water per week, from rain and irrigation combined.
- Leaving soaker hoses exposed. Cover them with mulch to reduce evaporation and UV damage.
- Mixing emitter types on one zone. Emitters are commonly rated at 1/2, 1 or 2 gallons per hour. Use one rating per zone so that every plant receives a comparable amount of water.
- Spacing emitters too far apart. Keep emitters about 12 inches apart in vegetable beds, or place one per plant where plants are widely spaced.
- Leaving lines unchecked. Lines can sit on the soil or under mulch. Inspect them for kinks, leaks, and sun damage, and repair or replace damaged sections.
Adjust these routines to your region and climate, since rainfall and temperature change how often beds need supplemental water.