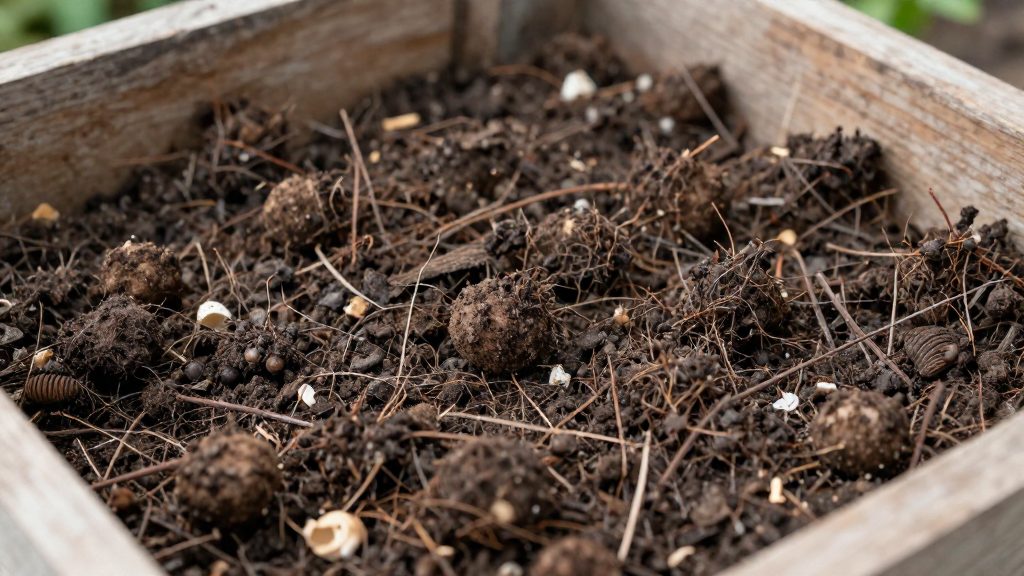
Cold composting is a passive method: organic material is piled up and left to break down slowly, without the internal heat that hot composting depends on. According to LSU AgCenter (2022), cold piles rarely get hot enough to destroy disease pathogens or weed seeds. Oregon State University Extension notes that a cool pile can take three to six months or longer, so the gardener’s main job is to add material and wait.
What is cold composting?
Cold composting is a slow, passive way to turn kitchen scraps, garden debris and leaves into soil amendment. The pile is not built to reach high temperatures. Hot composting aims for above 65°C (150°F), while a cold pile stays close to ambient temperature and decomposes more slowly.
According to Oregon State University Extension, a cool pile needs air, moisture and temperatures above freezing. No precise carbon-to-nitrogen ratio, inoculant or turning schedule is required. A pile rich in woody material simply decomposes more slowly.
Practical steps for a cold pile:
- Choose a spot where the bottom of the pile stays open to the soil, so worms and other organisms can reach the material, as LSU AgCenter (2022) describes.
- Skip turning. Cold composting does not require it.
- Bury kitchen scraps deep in the center of the pile, or place them in a critter-proof container or a buried spot in the garden (Oregon State University Extension).
- If the pile is mostly grass clippings, break it up and mix in leaves to prevent matting and odor.
- Keep the pile moist, since moisture is one of the conditions it needs.
Timing depends on climate and on the system used:
| Source | Context | Reported timing |
|---|---|---|
| LSU AgCenter (2022) | Three-bin rotation | About two years for material added in one year to become finished compost |
| Oregon State University Extension | Cool pile | Three to six months or longer |
| Multi-Materials Stewardship Board (Newfoundland and Labrador) | Local conditions | 1 to 2 years, depending on materials and effort; winter slows the process |
| Green Action Centre (Manitoba) | Cold winters | A backyard bin freezes and breaks down little until spring |
In Manitoba’s cold winters, the Green Action Centre suggests keeping a lidded pail of scraps in a cold space such as a garage, then adding it to the bin in spring. Saved fall leaves can cover the food.
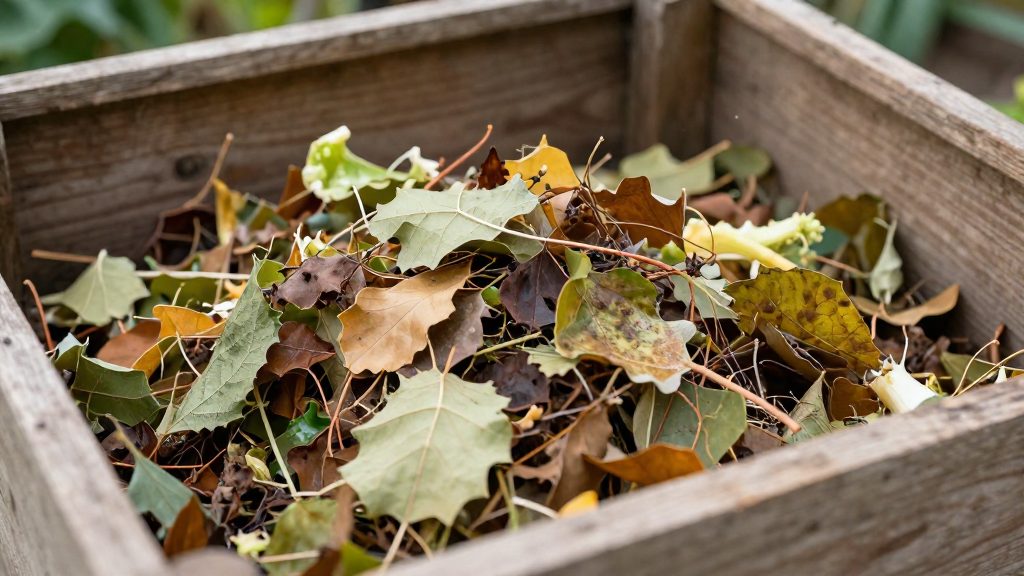
Cold vs. hot composting: what is the difference?
Cold and hot composting differ mainly in temperature, speed and what the finished compost can be trusted to contain. A cold pile is built and left alone, so its internal temperature stays low. For a vegetable garden, this difference determines which materials you can safely add and how long you need to wait before using the compost.
| Aspect | Cold (passive) composting | Hot composting |
|---|---|---|
| Temperature | Rarely gets hot enough to destroy pathogens or weed seeds | Aims for above 150°F (about 65°C) |
| Turning | Not required | Not described in the official sources consulted |
| Time needed | Three to six months or longer for a cool pile; about two years in a three-bin rotation (LSU AgCenter, 2022; Oregon State University Extension) | Not specified in the official sources consulted |
How a cold pile works
According to LSU AgCenter (2022), cold composting does not require turning. Leave the bottom of the pile open to the soil so worms and other organisms can reach the material. Oregon State University Extension adds that a cool pile needs air, moisture and temperatures above freezing, and that no precise carbon-to-nitrogen ratio, inoculant or turning schedule is required. A pile that is mostly woody material simply decomposes more slowly.
Practical points for a cold pile:
- Kitchen scraps can be buried deep in the centre of the pile, or placed in a critter-proof container or a buried spot in the garden.
- Grass clippings should be broken up and mixed with leaves when they make up most of the pile, to prevent matting and odour.
- Cold winters slow the process. In Manitoba, the Green Action Centre notes that a backyard bin freezes and breaks down little until spring. Keep a lidded pail of scraps in a cold space such as a garage, add it to the bin in spring, and cover food with saved fall leaves.
- In Newfoundland and Labrador, the Multi-Materials Stewardship Board states that composting can take one to two years depending on the materials and the effort put in.
Limits to keep in mind
Cold piles do not reliably kill pathogens. Oregon State University Extension warns that plant diseases in leaves or on root soil can survive in a cool pile. LSU AgCenter (2022) advises not to add diseased plants or weed seeds to a cold system.
Cold composting remains a low-effort way to recycle garden and kitchen waste.
What materials to put in the pile?
Cold composting works with most plant-based garden and kitchen waste, but the pile stays cool, so the choice of materials matters. Exclude diseased plants and weed seeds from the heap.
The official sources consulted do not specify a precise carbon-to-nitrogen ratio for cold piles. Materials are therefore best added as they come, with a sensible mix of soft and woody items.
| Material | How to add it | Notes from the sources |
|---|---|---|
| Kitchen scraps | Bury deep in the centre of the pile, or use a critter-proof container or a buried spot in the garden | Oregon State University Extension |
| Grass clippings | Break them up and mix with leaves | A pile made mostly of clippings can mat and produce odour (Oregon State University Extension) |
| Fallen leaves | Use to cover food scraps | Saved fall leaves help cover food in cold climates (Green Action Centre, Manitoba) |
| Woody material | Add in small pieces | A woody pile decomposes more slowly (Oregon State University Extension) |
| Diseased leaves or infected root soil | Do not add | Disease can survive in a cool pile (Oregon State University Extension) |
Kitchen scraps and garden waste
Burying scraps deep in the centre of the heap, or using a critter-proof container or a buried spot in the garden, is the approach Oregon State University Extension describes. In cold regions, a lidded pail kept in a cold space such as a garage can hold scraps until spring, when they go into the bin. The Green Action Centre (Manitoba) notes that a backyard bin freezes and breaks down little until spring.
Leaves and grass clippings
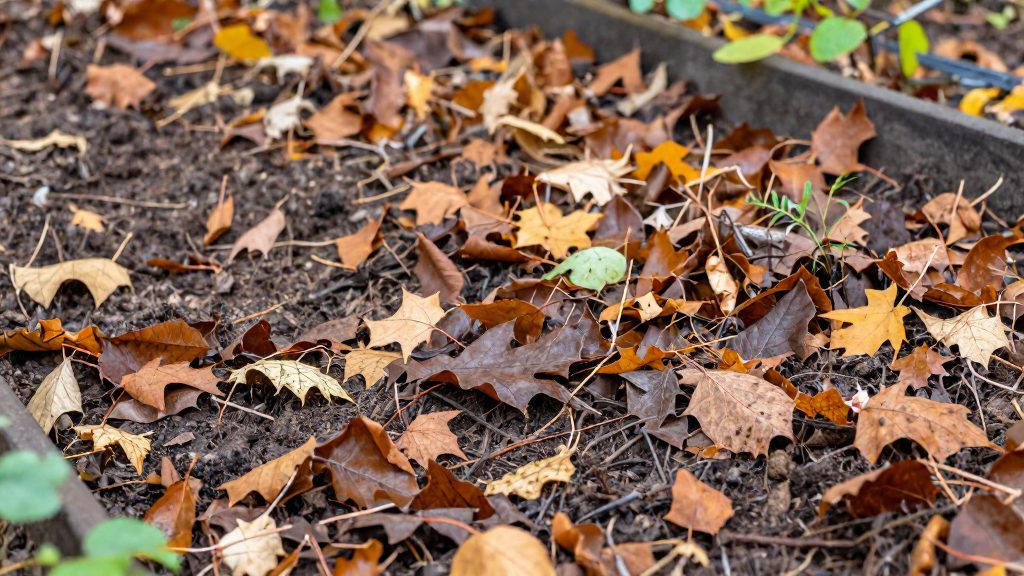
Leaves add structure and help cover food. Grass clippings should never form a thick, wet layer. Break them up and mix them with leaves to keep the pile loose.
How to build a cold compost pile step by step
A cold pile is a passive system: you add material over time, keep it moist, and let soil organisms do the decomposition.
- Open the base. Build the pile directly on the ground and leave the bottom open to the soil, so worms and other organisms can reach the material.
- Layer green and brown materials. Mix kitchen scraps and fresh material with dry leaves. Oregon State University Extension advises breaking up a pile that is mostly grass clippings and mixing it with leaves to prevent matting and odour. No precise carbon-to-nitrogen ratio is required.
- Bury food scraps. Place kitchen scraps deep in the centre of the pile, or use a critter-proof container or a buried spot in the garden.
- Keep it moist and aerated. A cool pile needs air, moisture and temperatures above freezing. A pile made largely of woody material decomposes more slowly, so expect a longer wait.
- Exclude problem material. Cold piles rarely reach the temperatures hot composting targets (above 150°F, about 65°C), so they do not reliably destroy pathogens or weed seeds. Leave diseased plants and weed seeds out. Oregon State University Extension notes that diseases in leaves or on root soil can survive in a cool pile.
- Wait and test. Allow time for decomposition, then test finished compost on a small area before using it widely, as Oregon State University Extension recommends.
Expected timelines vary by method and region:
| Context | Reported duration | Source |
|---|---|---|
| Cool pile, general | Three to six months or longer | Oregon State University Extension |
| Three-bin rotation | About two years | LSU AgCenter (2022) |
| Newfoundland and Labrador | 1 to 2 years, depending on materials and effort; winter slows the process | Multi-Materials Stewardship Board |
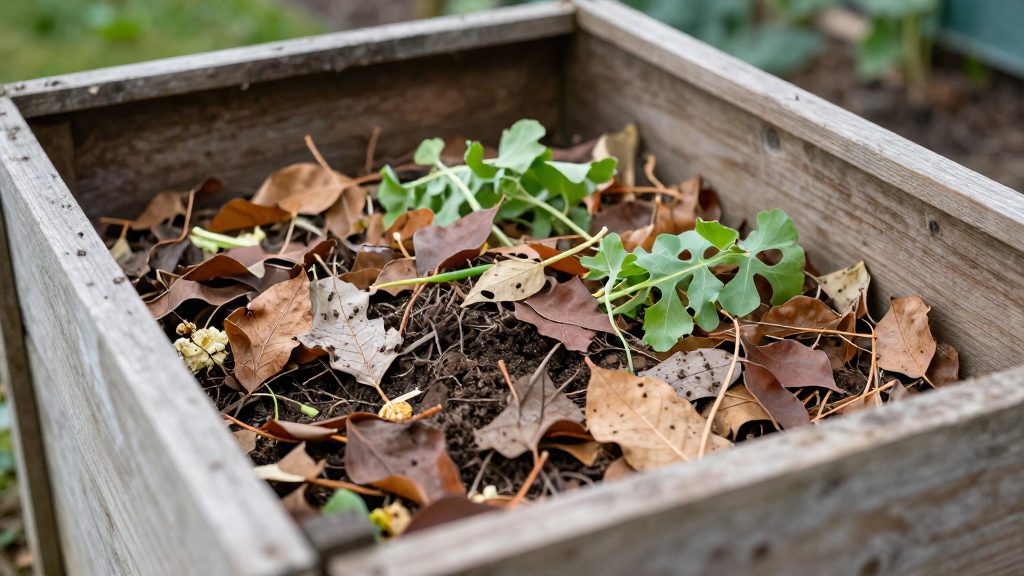
How long should you wait in Canada?
Canadian timelines depend mainly on winter. In Manitoba, the Green Action Centre (Manitoba) notes that a backyard bin freezes during cold winters and breaks down very little until spring, so most of the decomposition happens in the warmer months. In Newfoundland and Labrador, the Multi-Materials Stewardship Board (Newfoundland and Labrador) states that composting can take 1 to 2 years, depending on the materials and the effort put in, and that winter slows the process.
| Source or method | Stated timeframe | Key condition |
|---|---|---|
| Green Action Centre (Manitoba) | Little breakdown from freezing until spring | Cold winters freeze the bin |
| Multi-Materials Stewardship Board (Newfoundland and Labrador) | 1 to 2 years | Depends on materials and effort; winter slows the process |
| Oregon State University Extension (cool pile) | Three to six months or longer | Needs air, moisture and temperatures above freezing |
| LSU AgCenter (three-bin rotation) | About two years for finished compost | Material added in one year is finished after about two years |
Plan your timeline around winter
A cold pile keeps working in spring and summer and slows sharply once temperatures drop. To make the most of the cold season:
- Keep a lidded pail of kitchen scraps in a cold space, such as a garage, and add it to the bin in spring.
- Cover food scraps with saved fall leaves to limit odour and exposure.
- Break up a pile that is mostly grass clippings and mix it with leaves to prevent matting.
Estimate the time for your own bin
Woody material decomposes more slowly than soft green material. The LSU AgCenter (2022) notes that cold composting does not require turning, so you can leave the bottom of the pile open to the soil so worms and other organisms can reach the material. Oregon State University Extension adds that no precise C:N ratio, inoculant or turning schedule is required.
Test before planting
According to Oregon State University Extension, the finished compost should be tested on a small area first, so test before planting is a useful habit before you spread it over a full bed.
What should you avoid to protect the vegetable garden?
Cold composting is slow and low-effort, but it does not sanitise what goes into the pile. Most problems in a cold system come from adding the wrong material or from expecting a cold pile to behave like a hot one.
| Material or practice | Why it matters | Safer approach |
|---|---|---|
| Diseased plants | Plant diseases in leaves or on root soil can survive in a cool pile (Oregon State University Extension) | Keep them out of the cold pile |
| Weed seeds | Cold piles rarely get hot enough to destroy them (LSU AgCenter, 2022) | Keep them out of the cold pile |
| Mostly grass clippings | Can mat together and produce odour (Oregon State University Extension) | Break the clippings up and mix them with leaves |
| Exposed kitchen scraps | Can attract animals (Oregon State University Extension) | Bury scraps deep in the centre of the pile, or use a critter-proof container |
| Sealing the base | Worms and other organisms need access to the material (LSU AgCenter, 2022) | Leave the bottom of the pile open to the soil |
| Using finished compost untested | Compost from a cool pile may carry disease (Oregon State University Extension) | Test it on a small area first |
Diseased plants and weed seeds are the two inputs most likely to reach your beds unchanged. Remove them from the compost stream entirely rather than hoping a long resting period will neutralise them. The official sources consulted do not describe a reliable cold-pile method for treating them.
Winter also changes the timeline.
How to Use Cold Compost in Vegetable Beds
Cold compost is ready for beds only once it has fully broken down, and the timing depends on the system and the climate. Finished compost is dark, crumbly and no longer recognisable as the original scraps. Because the process is slow, plan bed work around the batch you actually have rather than a fixed date.
Check That the Compost Is Finished
Inspect the material before spreading it. Two practical steps follow:
- Keep diseased plants and weed seeds out of the pile from the start.
- Test finished compost from a cool pile on a small area of the garden first, and observe the plants before covering the whole bed.
Spread and Incorporate It
- Spread the compost on the bed only after testing it on a small area first, as Oregon State University Extension recommends.
- Work it lightly into the top layer rather than digging it deeply, so that worms and other soil organisms stay active. LSU AgCenter (2022) explains that cold composting needs no turning and that leaving the bottom of the pile open lets worms reach the material.
- Water gently after spreading. Oregon State University Extension states that a cool pile needs moisture, but the aim is damp material, not waterlogged soil.
Prepare Kitchen Scraps and Grass Before Adding Them
Oregon State University Extension describes two ways to handle kitchen scraps: bury them deep in the centre of the pile, or compost them in a critter-proof container or a buried spot in the garden. A pile that is mostly grass clippings should be broken up and mixed with leaves to prevent matting and odour.
Plan Timing by Climate
| Situation | Reported timing | Source |
|---|---|---|
| Three-bin rotation | About two years for material added in one year | LSU AgCenter (2022) |
| Cool pile | Three to six months or longer | Oregon State University Extension |
| Newfoundland and Labrador | 1 to 2 years, depending on materials and effort; winter slows the process | Multi-Materials Stewardship Board |
| Manitoba backyard bin | Freezes and breaks down little until spring | Green Action Centre (Manitoba) |