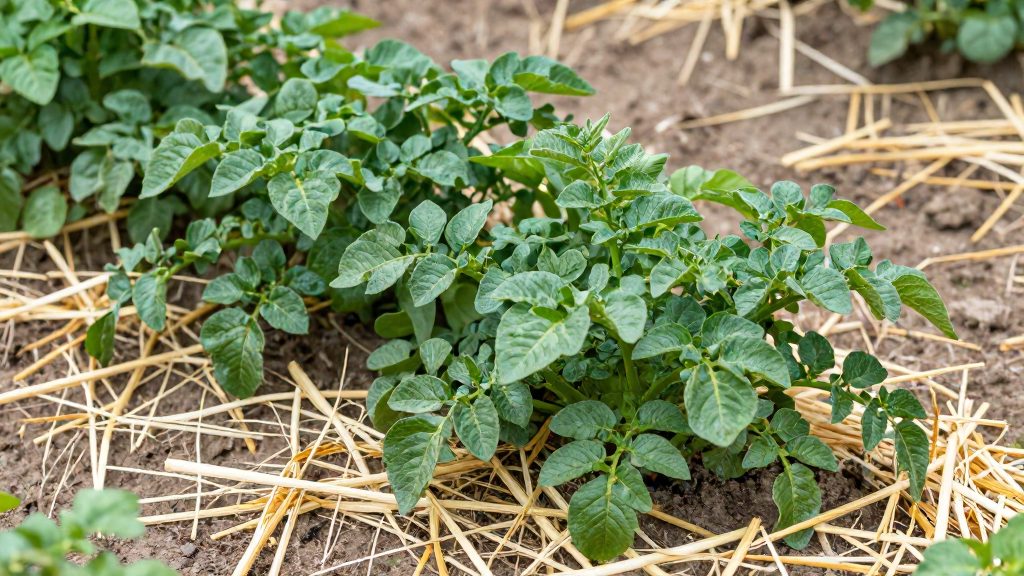
Potatoes can grow in straw, but the method matters. Intact straw bales are a difficult option: Oregon State University Extension Service (2023) classifies potatoes among the harder crops for straw bales, and UC Marin Master Gardeners say potatoes do not work well in bales. The University of Illinois Extension describes a different approach, planting seed potatoes at the soil surface beneath loose straw. Beginners should treat bales as a trial method and expect less predictable results than in a soil bed.
Can Potatoes Grow in Straw Bales?
Intact bales and loose-straw beds are different systems
Growers often mix these two methods. They are not interchangeable.
| System | Planting method | Extension guidance |
|---|---|---|
| Intact straw bales | Planted inside the bale | Oregon State University Extension Service (2023) lists potatoes among the more difficult bale crops; UC Marin Master Gardeners say potatoes do not work well in bales |
| Loose-straw beds | Seed potatoes placed at the soil surface, beneath loose straw | University of Illinois Extension describes this method |
Oregon State University Extension Service (2023) suggests considering stacked bales as an alternative configuration.
Realistic expectations for beginners
- Intact bales are the less predictable choice. The reviewed sources did not establish a reliable potato-specific protocol for intact bales, so beginners should treat this method as an experiment.
- Straw is not a shortcut. It does not by itself guarantee water savings or higher harvests compared with soil.
- Harvest differs by method. In loose-straw beds, you remove the straw and collect tubers from the soil surface, according to the University of Illinois Extension.
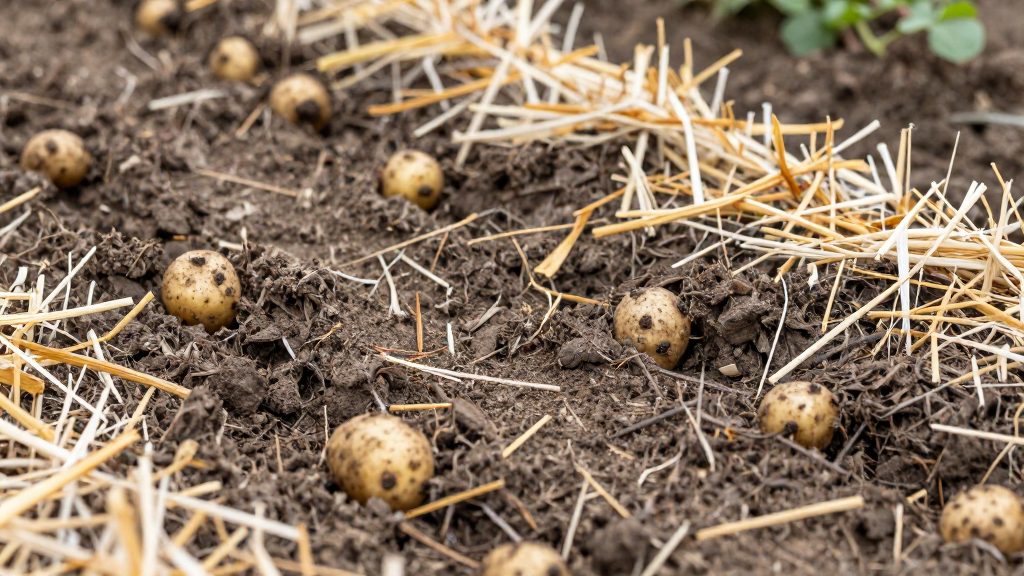
Straw Bales Versus Loose Straw Mulch
Straw bales and loose-straw potato beds are two different growing systems. In an intact bale, the bale itself is the growing container. In a loose-straw bed, seed potatoes sit at the soil surface beneath loose straw; roots grow into the soil, and tubers can be collected from the soil surface at harvest.
Intact bales versus loose straw
| Feature | Intact straw bale | Loose-straw bed |
|---|---|---|
| Straw form | Compressed, tied bale | Loose straw spread over soil |
| Growing medium | Decomposing straw inside the bale | Native soil under the straw |
| Seed potato placement | Disputed, see below | At the soil surface beneath loose straw (University of Illinois Extension) |
| Straw layer | Bale body | Initial covering of 4–6 inches (University of Illinois Extension) |
For potatoes, the loose-straw method is the approach that Illinois Extension describes directly.
Setting the initial straw layer
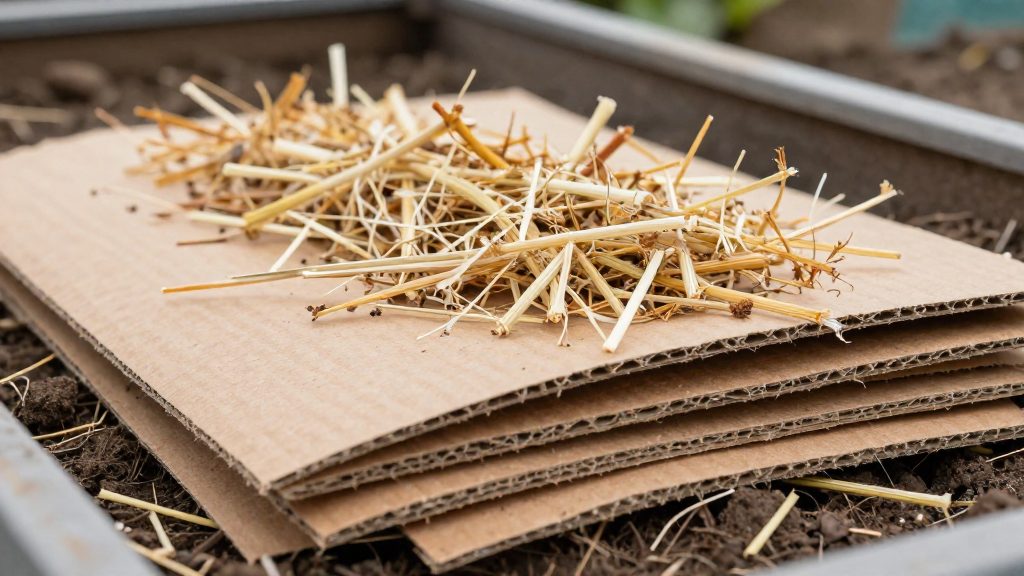
- Cover the seed potatoes and the soil between rows with an initial layer of loose straw 4–6 inches deep (about 10–15 cm).
- Keep the layer even across the bed so that no area is left exposed to light.
- Do not compact the straw by walking on it repeatedly, since compaction reduces the air space in the layer.
Replenishing the straw layer
As straw decomposes, the layer gets thinner. Illinois Extension recommends replenishing the straw when this happens.
- Check the depth of the layer periodically during the growing season.
- When the layer has thinned, add fresh loose straw to restore the original 4–6 inch depth.
- Add straw from the surface and spread it evenly, without disturbing the tubers in the soil below.
Choosing Straw and Healthy Seed Potatoes
Decide which system you are using before you buy materials. University of Illinois Extension describes loose-straw beds, where seed potatoes sit at the soil surface under loose straw, as a different method from planting inside intact bales. Check current local advice before committing a full season to bales.
Selecting straw
- Confirm that the product is labelled or described as straw.
- Buy from a supplier you can contact again if a delivery raises questions.
Choosing seed potatoes
According to University of Illinois Extension, small, whole, certified seed potatoes are often a good choice for home gardeners. Check the tag or the supplier’s documentation for certification. If none is provided, ask the seller before buying.
Cutting seed pieces
When you cut a larger tuber, each piece should carry at least one healthy eye, the bud from which shoots emerge. This is University of Illinois Extension’s guidance. Discard any piece that is soft, rotting or visibly damaged.
| Item | What to check | Source |
|---|---|---|
| Seed potatoes | Small, whole, certified | University of Illinois Extension |
| Cut seed pieces | At least one healthy eye per piece | University of Illinois Extension |
How Do You Condition Bales Organically?
Fresh straw bales heat up as the straw decomposes, so they need a conditioning period before anything is planted. Oregon State University Extension Service (2023) recommends conditioning fresh bales for 10 to 14 days and waiting until they cool to ambient temperature before planting. For organic conditioning, UC Marin Master Gardeners (University of California Agriculture and Natural Resources, 2023) describe a demonstration garden that conditions bales with organic feather meal over two weeks, watering the amendment into the straw.
Conditioning steps
| Stage | What to do | Source |
|---|---|---|
| Heating | Check bale temperature regularly while the straw is decomposing | Oregon State University Extension Service (2023) |
| Organic feather meal | Water the amendment into the straw over two weeks | UC Marin Master Gardeners (2023) |
| Conditioning window | Hold the bales for 10 to 14 days | Oregon State University Extension Service (2023) |
| Cool-down | Confirm the bale has reached ambient temperature before planting | Oregon State University Extension Service (2023) |
Check the feather meal label for organic certification and the recommended application rate. Feather meal is a slow-release organic nitrogen amendment, so keep it in the watering routine rather than applying it dry.
Planting Options and Their Limits
For home gardeners, the best-documented placement for potatoes in straw is a loose-straw bed, not an intact bale. University of Illinois Extension describes planting seed potatoes at the soil surface beneath loose straw. Planting inside intact bale cavities is a different system, and sources disagree on whether potatoes suit it.
Surface placement under loose straw
In a loose-straw bed, the tubers sit on the soil and the straw covers them. This keeps the seed potatoes in contact with the ground, so roots can establish in the soil beneath the mulch. The straw is also what you lift at harvest. According to University of Illinois Extension, you carefully remove the straw and collect the tubers from the soil surface.
This placement has a practical consequence: the potatoes never leave the ground, so the bed works like a mulched soil bed rather than a container. Choose a sunny spot and prepare the soil before laying the straw.
Limits of planting inside intact bales
Planting inside intact bale cavities is the approach most often questioned:
- Oregon State University Extension Service (2023) classifies potatoes among the more difficult crops to grow in straw bales. It suggests considering stacked bales as an alternative.
- UC Marin Master Gardeners (University of California, 2023) states that potatoes do not work well in bales.
- The reviewed sources did not establish a reliable potato-specific protocol for intact bales, including planting depth, plants per bale, or fertilizer dose.
Fresh bales also heat during decomposition, which limits when you can plant them safely. Condition the bales first, following the method described in the bale-conditioning step of this guide.
Containers and raised beds with straw mulch
A straw mulch can go on containers or raised beds, but the same constraints apply. Straw needs consistent moisture.
Slugs are a particularly common pest in straw gardens, according to Oregon State (2023), so inspect the mulch regularly.
Before buying straw for any system, ask the supplier whether it has been treated with herbicides. University of Arizona Cooperative Extension identifies picloram, clopyralid, and aminopyralid as persistent herbicides that can contaminate straw and inhibit plant growth. Choose a supplier who can disclose its herbicide use.
Watering and Feeding Your Potato Plants
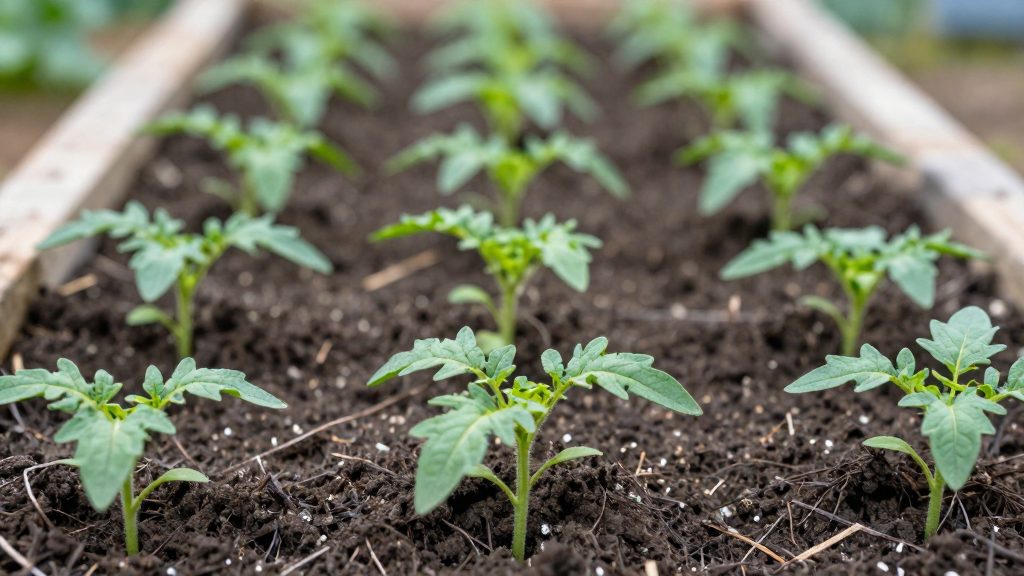
Straw bales do not supply sufficient nutrients on their own, and UC Marin recommends periodic complete fertilizer for bale-grown crops. In loose-straw beds, potatoes also obtain nutrients from the underlying soil; base fertilizer choices on a soil test and local extension guidance. The straw also needs steady moisture, but excess water can wash nutrients out of the bed. For intact bales, UC Marin recommends periodic complete fertilizer and consistent bale moisture without overwatering. For loose-straw beds, base fertilizer applications on soil-test results and local extension guidance, and water according to moisture in the underlying soil.
| Task | Guidance | Source |
|---|---|---|
| Nutrient supply | Straw alone does not supply sufficient plant nutrients; apply complete fertilizer periodically during the growing season | UC Marin Master Gardeners, University of California (2023-08-25) |
| Watering method | Use drip irrigation to keep straw moist | UC Marin Master Gardeners, University of California (2023-08-25) |
| Moisture checks | Check bale moisture daily | Oregon State University Extension Service (2023) |
Feeding with an organic complete fertilizer
- Choose an organic complete fertilizer and read the label for its nutrient analysis and recommended rate.
- Follow the rate on the product label or the manufacturer’s instructions. If you are unsure how to adapt the rate to straw, contact your local extension service.
- Apply in several doses over the season rather than one large application at planting, which matches the periodic feeding recommended by UC Marin Master Gardeners (2023).
Keeping the straw consistently moist
- Straw bales need consistent moisture throughout the season. Drip irrigation delivers water slowly to the root zone and helps keep the straw evenly damp.
- Check moisture by hand, pushing a finger into the straw, and water when the upper layer feels dry. Oregon State University Extension Service (2023) advises checking bale moisture daily.
Managing Herbicide Risks and Pests
Straw can carry persistent herbicide residue, which is the main chemical risk for potatoes grown in straw. Source choice is the primary control, and pest management relies on routine inspection and mechanical methods rather than synthetic products.
Persistent herbicide residue in straw
According to the University of Arizona Cooperative Extension, persistent herbicides can contaminate straw and inhibit plant growth. The extension names three compounds as concerns:
- Picloram
- Clopyralid
- Aminopyralid
These products can remain active after the straw leaves the field, so contamination may not be obvious when you receive the bales.
Avoiding straw from treated or unknown fields
The University of Arizona Cooperative Extension recommends buying straw only from suppliers who can disclose their herbicide use. Avoid straw whose field history is unknown. To check a supplier:
- Ask in writing which herbicides were applied to the field that produced the straw.
- Ask for the product names, then check the labels for picloram, clopyralid and aminopyralid.
- Keep the supplier’s answer with your bale purchase records.
Organic pest management for potato beds
Oregon State University Extension Service (2023) identifies slugs as a particularly common pest in straw bale gardens. Organic control options for slugs include:
- Handpicking slugs in the evening or early morning, when they are most active.
- Removing debris and hiding places near the bed edges.
- Inspecting under the straw during routine moisture checks.
- Using only products labeled for organic use, and following the label instructions exactly.
Avoid applying any pest product without first reading its label and confirming that it is approved for organic production and for use on potatoes. Contact your local extension service if you are unsure which products are permitted in your area.
Harvesting Potatoes and Reusing Straw
For potatoes grown in loose straw, harvest starts by removing the straw cover. According to University of Illinois Extension, the tubers are collected from the soil surface beneath the straw, so the layer is lifted carefully rather than raked or dug through. Spent straw can then be kept as organic material, but its origin needs checking first, because herbicide residues can carry over from one season to the next.
Harvesting tubers from loose straw beds
- Pull back the straw by hand or with a garden fork, working from one edge of the bed toward the other.
- Lift the straw in layers and set it aside on clean ground so it can be reused later.
- Collect tubers lying on the soil surface under the straw, where University of Illinois Extension places them in this method.
- Check the loose straw and the soil immediately beneath it, since tubers can sit slightly off the main planting line.
- Handle tubers gently to limit bruising. Store them according to your regional extension service’s guidance, as storage conditions vary by climate.
Post-harvest handling
Once the tubers are collected, sort out damaged or small pieces and keep the healthy ones separate. Store healthy potatoes in a cool, dark, well-ventilated place with high humidity but no condensation on the tubers, and confirm storage conditions with your local extension office.
Reusing spent straw as organic material
Spent straw still contains organic matter, and University of Illinois Extension notes that the straw layer thins as it decomposes, which is why it is replenished during the season. Used straw can be:
- Spread as mulch on other beds, once you have confirmed it is free of herbicide residues.
- Added to a compost heap, where it breaks down further, if your local extension service confirms it is suitable for composting in your region.
- Replaced with fresh organic straw for the next season rather than reusing a degraded layer.