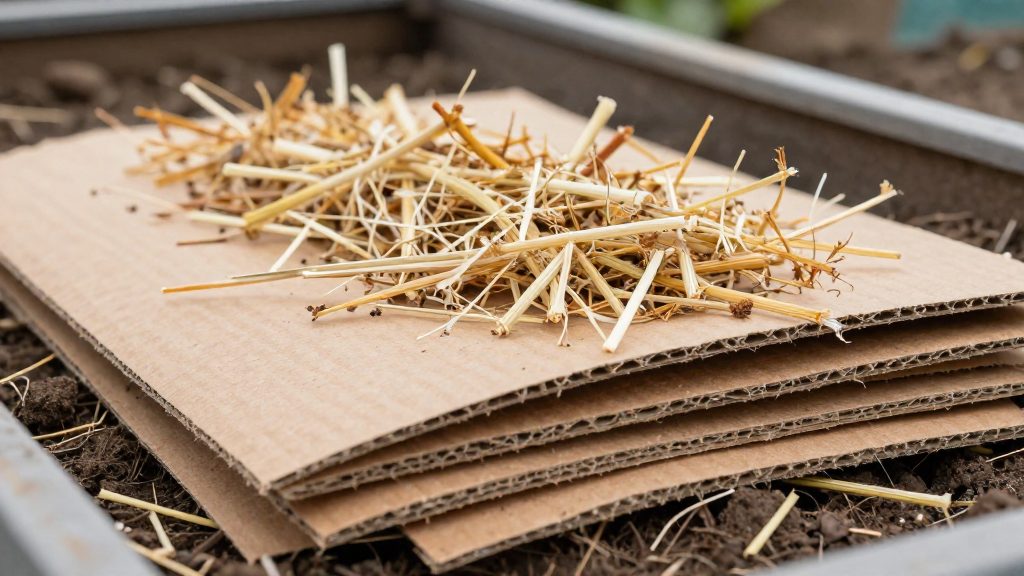
Sheet mulching is a no-dig method for building a planting bed on top of existing ground. You lay organic material directly over the surface, smothering the vegetation underneath while the layers decompose in place into a growing medium. According to NC State Extension, biodegradation takes about six months, so a bed started in November can be planted in May. The method works without tilling and without chemical herbicides, which makes it an organic alternative for converting lawn or rough ground into vegetable beds.
What is sheet mulching?
Sheet mulching builds a bed from the top down. Instead of removing turf or breaking up the soil, you place a barrier over the existing surface and pile organic material on it. As the layers break down, they add organic matter to the ground beneath, so the soil improves where it sits.
The no-dig principle
The defining feature is that the planting area is never tilled or turned over. The only digging is the shallow perimeter trench used to build the edge. The bed is assembled on top of the ground, which keeps the existing soil profile undisturbed. Planting is done later by pushing the mulch aside and setting roots into the soil itself, according to Penn State Extension.
Layering the lasagna variant
The layered version, often called lasagna gardening, alternates two types of material. Each layer is applied in sequence over a base placed on the ground.
| Layer | Material | Thickness |
|---|---|---|
| Base | Cardboard or newspaper | Placed first on the ground |
| Carbon-rich | Straw, dry leaves | 2 inches |
| Nitrogen-rich | Grass clippings, fruit and vegetable scraps | 2 inches |
NC State Extension describes alternating the carbon-rich and nitrogen-rich layers for the lasagna version, up to 1.5 to 3 feet (about 45 to 90 cm) high for a freshly stacked pile. Penn State Extension’s guidance for the finished mulch is a total depth of 4 to 6 inches. Use the tall stack only if you are building a lasagna pile. Otherwise follow the 4 to 6 inch depth. Keep the two materials alternating rather than stacking one type in a single thick block, so that each layer breaks down in the same sequence as the others.
Why use it in permaculture beds?
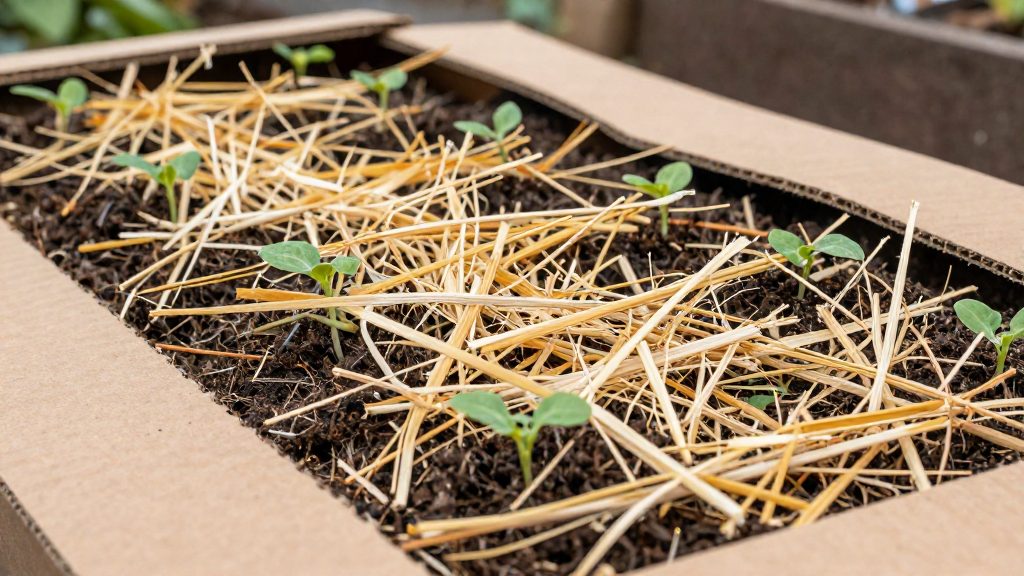
Sheet mulching suits permaculture beds because one operation does three jobs: it smothers existing vegetation, holds water in the root zone, and turns garden and kitchen residues into fertility. The gardener covers the ground with successive organic layers instead of digging, and soil organisms do the work over the following months.
Weed suppression by blocking light
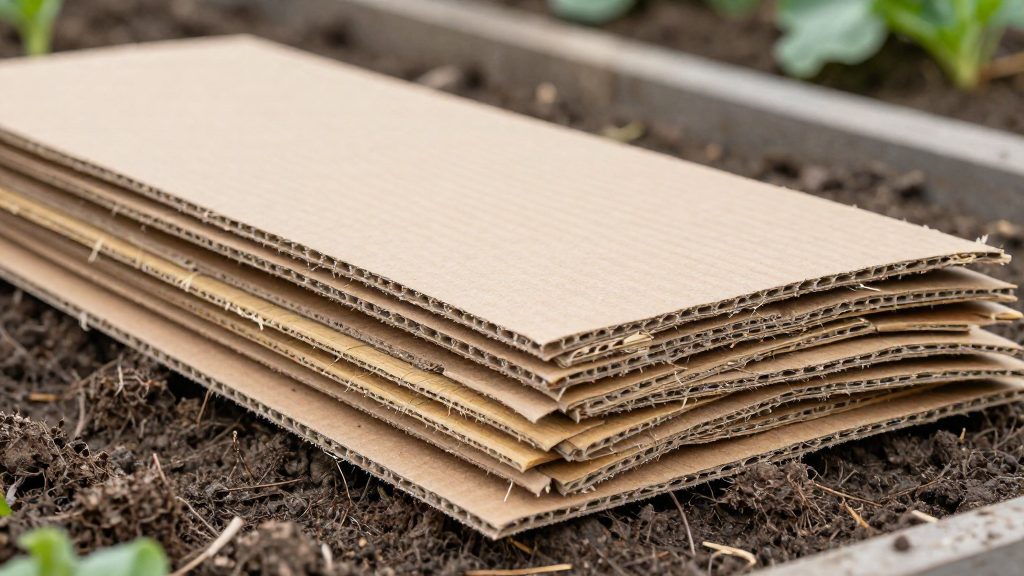
A continuous cardboard or newspaper base blocks sunlight from reaching the grass and weeds underneath, so they cannot push seedlings through the surface. Gaps cause most failures. According to Penn State Extension, sheets should overlap by 8 to 10 inches with no openings, and the edges should be tucked into the trench. University of Vermont Extension advises mowing the grass short before covering it, so the vegetation beneath is easier to smother.
Moisture retention and lower summer irrigation
A thick organic cover shields the soil surface from direct sun and wind, which reduces evaporation between waterings. The bed therefore stays damp for longer than bare soil in the same conditions. The official sources consulted do not specify how much water is saved or what percentage of irrigation can be cut, so the benefit should be judged by observing soil moisture in your own garden. Keeping the cover intact through the summer is what preserves this effect.
Recycling garden and kitchen waste into fertility
Sheet mulching turns material that would otherwise be discarded into soil fertility. NC State Extension lists grass clippings and fruit and vegetable scraps as nitrogen-rich inputs, and straw or dry leaves as carbon-rich inputs. According to NC State Extension, biodegradation takes about six months.
| Benefit | Mechanism | Practical action |
|---|---|---|
| Weed suppression | Blocks light from grass and weeds | Overlap cardboard by 8 to 10 inches, no gaps (Penn State Extension) |
| Moisture retention | Shields the soil surface from sun and wind | Keep the cover intact through summer |
| Waste recycling | Breaks down over about six months | Add grass clippings and fruit and vegetable scraps (NC State Extension) |
Materials: what to use and avoid
Sheet mulching works with a small set of plain organic materials. The base layer is corrugated cardboard or plain newspaper, and the organic layers above it are carbon-rich and nitrogen-rich materials. Penn State Extension and NC State Extension both describe these materials, and the University of Vermont Extension warns against treated mulch products.
| Material | Specification | Source |
|---|---|---|
| Corrugated cardboard | All tape and staples removed before laying | Penn State Extension |
| Plain newspaper | About 10 sheets thick, used in place of cardboard | Penn State Extension |
| Carbon-rich material | Straw or dry leaves | NC State Extension |
| Nitrogen-rich material | Grass clippings, fruit and vegetable scraps | NC State Extension |
Preparing the cardboard
- Remove every piece of tape and every staple from the cardboard. Penn State Extension specifies this, because metal and adhesive residues stay in the bed after the cardboard breaks down.
- Use corrugated cardboard rather than a single thin sheet. Penn State Extension names corrugated cardboard as the standard base material.
Using newspaper
- Use only plain newspaper, roughly 10 sheets thick, to replace cardboard.
- Never include glossy inserts. Penn State Extension states that they should not be used, so flyers and magazine-style pages stay out of the bed.
Materials to exclude
- Herbicide, pesticide and dye-containing mulch products. The University of Vermont Extension advises avoiding any mulch that contains these substances, since they can persist in the bed and affect the soil and the crops planted above it.
- Glossy inserts, as noted above.
- Cardboard or newspaper treated with tape or staples left in place.
How do you sheet mulch step by step?
Sheet mulching is built in a fixed order: the trench edge first, then the cardboard base, then the organic mulch on top. According to Penn State Extension, the total mulch depth should be 4 to 6 inches. Go deeper for vegetables and annuals, and shallower for native perennials. The University of Vermont Extension describes the edge-building step that comes first.
| Step | Action | Specification | Source |
|---|---|---|---|
| 1 | Mow the grass short around the bed outline | Cut before digging | University of Vermont Extension |
| 2 | Dig the perimeter trench | 4 to 6 inches deep, all the way around | University of Vermont Extension |
| 3 | Spread the removed turf inside the bed and water it | Turf stays inside the bed | University of Vermont Extension |
| 4 | Lay corrugated cardboard over the bed | Overlap sheets by 8 to 10 inches, with no gaps | Penn State Extension |
| 5 | Tuck the cardboard edges into the trench | Edges sit inside the trench | Penn State Extension |
| 6 | Add the mulch layers | Total depth 4 to 6 inches | Penn State Extension |
Building the edge and base
Start by cutting the grass short, then dig the trench around the full perimeter. Spread the removed turf inside the bed and water it, which keeps the grass in place under the cardboard. Lay the cardboard over the turf with each sheet overlapping the next by 8 to 10 inches. Work carefully so that no gaps remain between sheets, then tuck the outer edges into the trench.
Adding the mulch
Once the base is in place, add the organic mulch in layers until the total depth reaches 4 to 6 inches. Vegetable and annual beds need the deeper end of that range, while beds meant for native perennials need less. The official sources consulted do not give a fixed number of layers for this step, so adjust the depth by bed use rather than by layer count.
When is the best time to start?
Autumn is the recommended starting point for sheet mulching beds in the northeastern United States. Penn State Extension identifies fall as the ideal season there, because a bed started in autumn is ready for planting in spring. Starting in the cooler months lets the bed settle before the growing season begins, so gardeners do not need to build a new bed during the busiest part of spring.
NC State Extension gives a concrete reference point: sheet mulching started in November allows planting in May. Use this as a baseline and adjust it to your own location.
The start date should be set by your planting date, not by the calendar alone. Find the average last frost date for your area from your regional extension service, then plan your planting for after that date. Work backward from there, and allow the full resting period before you plant. The sources consulted for this guide come from Pennsylvania, Vermont and North Carolina extension services. For regions with different winters, the official sources consulted do not specify alternative start months, so local frost dates should guide the schedule.
| Start point | Expected outcome | Source |
|---|---|---|
| Fall start, northeastern U.S. | Bed ready for spring planting | Penn State Extension |
| November start | Planting possible in May | NC State Extension |
How long before you can plant?
Sheet mulching needs a rest period before planting, because the cardboard and organic layers must break down into soil first. Penn State Extension recommends letting the bed rest 4 to 6 months before planting. The timing varies with the climate and the materials used, so the bed should be checked before any planting.
Decomposition timelines
The three sources give overlapping figures:
| Source | Stated timeframe | What it refers to |
|---|---|---|
| Penn State Extension | 4 to 6 months | Rest period before planting |
| University of Vermont Extension | Roughly 4 to 6 months | Breakdown of cardboard and mulch |
| NC State Extension | About 6 months | Biodegradation of the layers |
Taken together, a bed built in one season is generally ready for planting after about four to six months, with six months being the longer estimate. Thicker layers, such as a 4 to 6 inch total mulch depth recommended by Penn State Extension, take longer to break down than thin ones.
Readiness signs
NC State Extension describes two visible signs that the bed is ready:
- The individual layers are no longer distinguishable from one another.
- The material has a fresh, sweet smell, the sign of finished organic matter.
If the cardboard still holds its shape or the mulch looks like distinct layers, give the bed more time before planting.
Root placement
When the bed is ready, the planting method matters. Penn State Extension advises scooping the mulch aside and setting the roots in the soil itself. This ensures that roots reach the decomposed soil beneath the sheet mulch rather than remaining in partly decomposed material.
Common mistakes to avoid
Most problems in a sheet-mulched bed come from three errors: an unbalanced mix of layers, walking on the bed before it has settled, and adding material that has not broken down. Each one slows decay or disturbs the structure the bed needs to become productive soil.
Too many nitrogen-rich scraps
The layered method works by alternating materials. According to NC State Extension, the base is followed by 2 inches of carbon-rich material, such as straw or dry leaves, then 2 inches of nitrogen-rich material, such as grass clippings and fruit and vegetable scraps. The common mistake is to stack mostly kitchen scraps and fresh clippings with little carbon-rich material. The result is slow, uneven decay: wet, dense pockets of nitrogen-rich scraps rot while other areas stay largely intact, so the layers never settle into a uniform mass.
To avoid this, alternate the two material types in equal 2-inch layers, as the method describes, and keep building until the total mulch depth reaches the 4 to 6 inches recommended by Penn State Extension. Deeper layers suit vegetables and annuals, and shallower layers suit native perennials.
Walking on or compacting the bed too early
Decomposition depends on air, moisture and loose material. Repeated foot traffic packs the layers together and slows the breakdown. Penn State Extension recommends letting the bed rest 4 to 6 months before planting. Keeping foot traffic off the bed during this period is sensible general practice, not a sourced requirement.
Adding fresh manure or uncomposted material directly
The sources consulted for this guide do not specify how fresh manure behaves in a sheet-mulched bed, so no timing or dose is given here. Material that has not yet broken down is still decomposing, so it should not be treated as finished soil.
Before adding any amendment, check that it has already broken down. If the layers still look distinct, or the material smells sour or rotten, give the bed more time to decompose.
Frequently asked questions
How long does a sheet mulch bed need before I can plant?
Plan on a resting period of about four to six months, according to Penn State Extension. NC State Extension estimates roughly six months for the layers to break down, so a bed built in November is typically ready for planting in May.
Can I use newspaper or glossy paper instead of cardboard?
Plain newspaper about 10 sheets thick works as a base, but glossy inserts and magazine paper should be avoided. Corrugated cardboard is also suitable once all tape and staples are removed, with sheets overlapped by 8 to 10 inches and no gaps left between them.
Do I need to dig to build a sheet mulch bed?
The planting area itself is never tilled, so the existing soil stays in place, but you do need to dig a perimeter trench 4 to 6 inches deep to form the bed edge. Mow the grass short beforehand, then spread the removed turf inside the bed and water it so it settles.