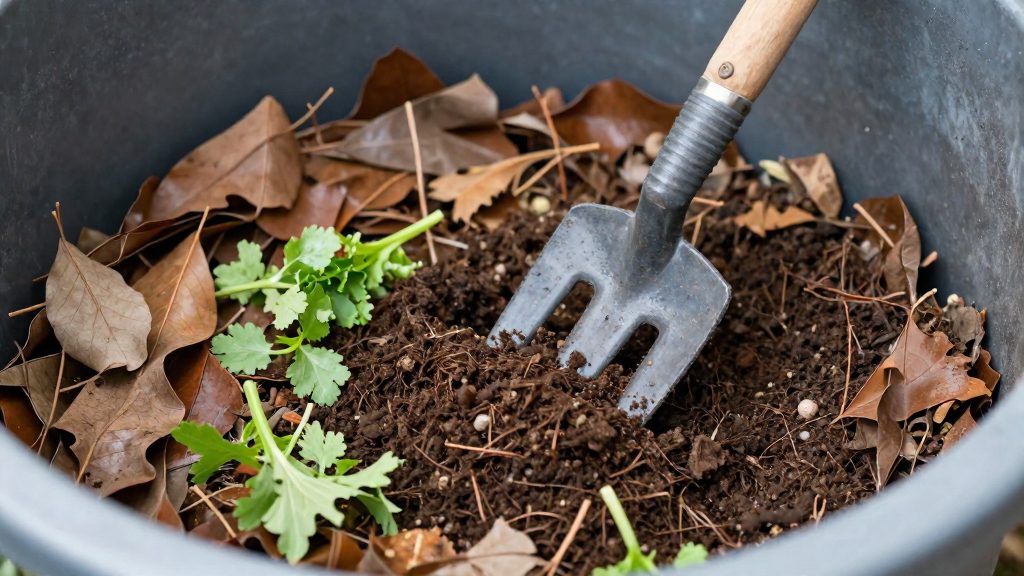
Compost matters in a vegetable garden because it adds organic matter that soil cannot build quickly on its own. Finished compost is the decomposed product of greens and browns, and it works as a soil-building input rather than a quick feed. It helps loosen the soil, supports water holding, feeds the microbial life that cycles nutrients, and releases nutrients gradually as it breaks down. The official sources consulted do not give measured yield or soil-test figures for these effects, so the points below are practical and qualitative.
Why compost matters for a vegetable garden
Compost is valued in vegetable beds mainly for what it does to the soil over time, not for a single feeding. According to U.S. EPA (2026), the basic compost ingredients are greens and browns, so the finished material is a mix of decomposed organic matter rather than a concentrated fertilizer.
Soil structure, aeration and water retention
Adding compost to beds improves the physical condition of the soil. Organic matter helps bind fine particles and open up spaces between them, which makes heavy soil easier to work and lighter soil better able to hold together. Those spaces matter for two things a vegetable crop needs: air around the roots and water that stays available between waterings.
- Soil structure: looser beds are easier to dig and let roots spread.
- Aeration: open pore space allows air to reach roots and soil life.
- Water retention: organic matter helps the soil hold moisture, so beds dry out more slowly.
The official sources consulted do not specify how much these properties change for a given soil type, so results will vary with the starting soil and the amount added.
Nutrient supply and microbial activity
Compost also brings nutrients and the microorganisms that process them. As the material decomposes, soil organisms break down organic matter and make nutrients available to plant roots. This microbial activity is part of what distinguishes a living soil from a bed that relies only on added minerals.
Replacing synthetic fertilizers with slow release
The main practical benefit for a gardener who wants to move away from synthetic fertilizers is the slow nutrient release of compost. Soluble synthetic fertilizers dissolve quickly and are available to plants in a short window. Compost releases its nutrients gradually as it continues to decompose, which lowers the risk of a sudden surge followed by a deficit. Organic gardeners who reduce synthetic inputs typically rely on compost, along with other organic amendments, to maintain fertility across the season.
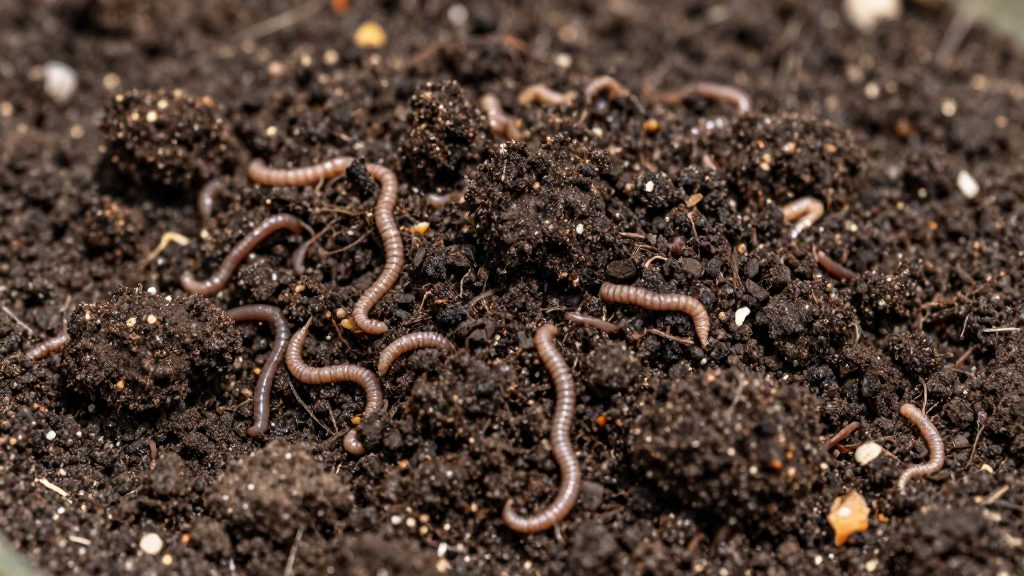
What can you compost, and what should you avoid?
Sorting materials decides whether a pile breaks down cleanly or attracts pests and stalls. According to the U.S. EPA (2026), the basic ingredients fall into two groups: greens, which are fresh and nitrogen-rich, and browns, which are dry and carbon-rich. Both groups belong in a home pile, but a short list of materials should stay out entirely.
Safe greens and browns
| Material | Group | Practical note |
|---|---|---|
| Fruit and vegetable scraps | Green | Kitchen peelings and trimmings |
| Grass clippings | Green | Use only from lawns not treated with herbicide |
| Coffee grounds | Green | Used grounds, added with browns |
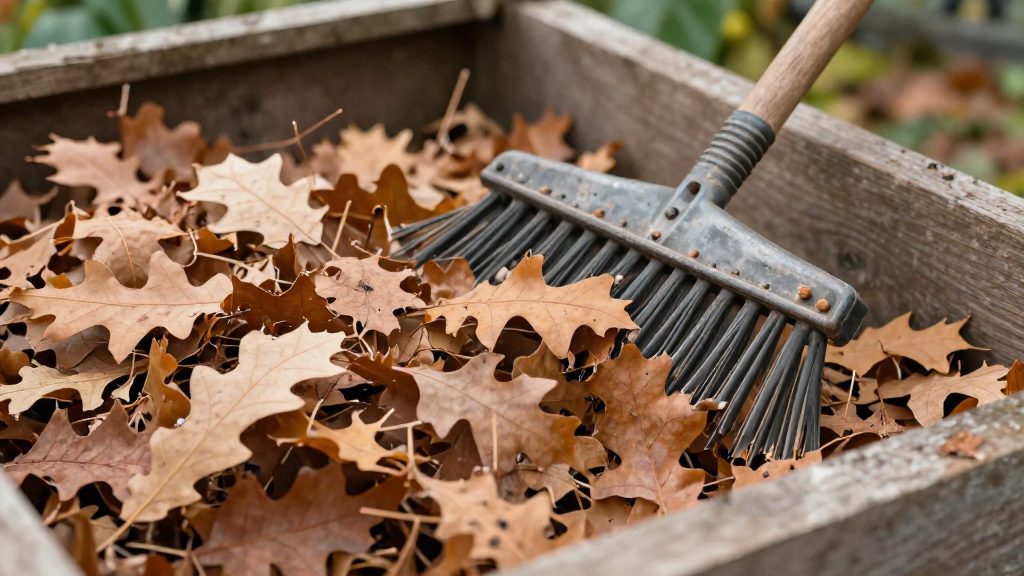
| Dry leaves | Brown | Bulky browns also work as a base layer |
| Twigs | Brown | Break them into smaller pieces to speed up breakdown |
| Shredded non-glossy paper | Brown | Glossy paper is excluded (see below) |
| Plain cardboard | Brown | Uncoated cardboard only |
| Untreated wood chips | Brown | Treated wood is excluded (see below) |
Materials to exclude
- Animal products: meat, fish, bones, dairy, fats and oils. The U.S. EPA (2026) notes that backyard piles usually do not get hot enough to break these down.
- Pet waste, which the U.S. EPA (2026) lists among materials to keep out of a backyard pile.
- Diseased plants, which should not go into the pile.
- Weeds with seeds, which can survive the process and spread in the bed.
- Herbicide-treated plants, including clippings from chemically treated lawns. Choose untreated grass and hand-pull weeds before they set seed as non-chemical alternatives.
- Treated wood and glossy paper, including magazines and printed glossy inserts.
How do you balance greens and browns?
Balance greens and browns by volume, not by weight. According to the U.S. EPA (2026), add at least 2 to 3 parts brown material for every part green. For hot composting, Harvest to Table (2026) gives a target carbon-to-nitrogen ratio near 25:1. The volume rule is the practical way to approach that target without lab measurements.
| Greens (parts by volume) | Browns (parts by volume) |
|---|---|
| 1 | 2 |
| 1 | 3 |
Greens and browns to use
- Greens: fruit and vegetable scraps, grass clippings, coffee grounds
- Browns: dry leaves, twigs, shredded non-glossy paper, plain cardboard, untreated wood chips
Estimating volumes with buckets
- Use the same container for both materials. Choose one bucket or scoop and use it every time you add material.
- Count the greens you add, then add two to three times that number of browns. For example, four buckets of greens call for eight to twelve buckets of browns.
- Keep a simple tally on the bin or in a notebook so the ratio stays consistent across several additions.
Estimating volumes with a bin-sized pile
- A simple pile can be a wire cage 3 to 4 feet wide, with a same-sized space beside it for turning, according to Mother Earth News (2026).
- Harvest to Table (2026) recommends a pile at least 3 feet in each dimension, with 4 to 5 feet being better for hot composting.
- Within a pile this size, spread greens and browns in layers across the same footprint. Make each brown layer two to three times as thick as the green layer beneath it, so the volume ratio stays close to 2:1 or 3:1.
Building the pile step by step
Building a backyard pile is a matter of stacking materials in a fixed order so that air reaches the pile, food scraps stay covered, and pests stay out. The U.S. EPA (2026) gives the core layering method: start with a thick base of coarse browns, then bury the greens under a cover of browns.
Step 1: Lay a bulky brown base. Spread a base layer of bulky browns such as twigs, dry stalks and shredded plant material, about 4 to 6 inches deep, according to U.S. EPA (2026). A coarse base lets air move up from the ground, which keeps the lower part of the pile from compacting into a wet mass.
Step 2: Add food scraps and bury them. Place fruit and vegetable scraps, grass clippings or coffee grounds on the base, then cover each addition completely. U.S. EPA (2026) advises covering food scraps with 4 to 8 inches of browns. Burying the greens this way reduces odours and discourages flies and rodents, because the scraps are not left exposed on the surface. Add the greens in the centre of the pile, not at its edges, and keep them away from the outer ring where the surface dries first.
Step 3: Repeat the layers. Continue alternating the two steps, always finishing each addition with a brown cover. Keep each new layer of scraps covered before adding the next, so no fresh food sits on the surface.
Step 4: Enclose the pile in a lidded bin. If you use a bin rather than an open cage, choose one with a lid and gaps under ¼ inch, as U.S. EPA (2026) recommends. Small openings keep out rodents while still allowing airflow.
| Step | Layer | Depth or condition |
|---|---|---|
| 1 | Bulky brown base (twigs, dry stalks) | 4 to 6 inches |
| 2 | Food scraps (fruit, vegetable scraps, coffee grounds, grass clippings) | Buried in the centre |
| 3 | Brown cover | 4 to 8 inches over the scraps |
| 4 | Lidded bin | Gaps under ¼ inch |
Moisture, air and temperature
A compost pile breaks down fastest when three conditions hold together: enough moisture for microbes to stay active, enough oxygen for them to work, and enough heat to speed decomposition. Keeping the pile within this range matters more than adding any special ingredient.
Moisture like a wrung-out sponge
The target moisture is that of a wrung-out sponge. The U.S. EPA (2026) recommends keeping the pile at this dampness. The simplest check is by hand: grab a handful from the middle of the pile and squeeze. It should feel damp, not soggy. If the pile is too wet, add more browns and turn it through.
Aeration by turning
Microbes that break down the pile use oxygen, so air must reach the centre. Turning the pile supplies that oxygen. Mother Earth News (2026) notes that turning every one to two weeks speeds decomposition, although it is not required.
Heat for pathogen and weed seed kill
A well-maintained pile can reach 130–160°F, a range that helps kill pathogens and weed seeds (U.S. EPA, 2026). Larger piles hold heat better.
| Factor | Target | How to check or adjust |
|---|---|---|
| Moisture | As damp as a wrung-out sponge | Squeeze a handful from the middle; add browns and turn if too wet |
| Oxygen | Air reaching the centre of the pile | Turn the pile regularly |
| Heat | 130–160°F in a well-maintained pile | Build at least 3 feet in each dimension (4–5 feet is better) |
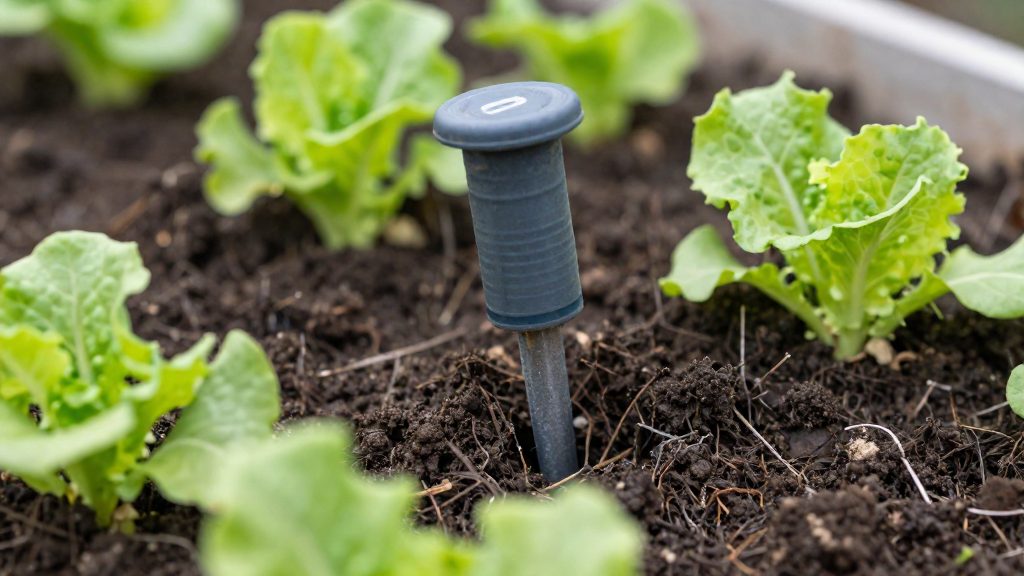
How long does compost take to be ready?
The time needed for finished compost depends mainly on how the pile is managed. According to U.S. EPA (2026), a well-maintained pile is ready in about 3 to 5 months, while an untended pile can take up to a year. Even when the material looks dark and crumbly, it still needs a resting period before use.
Managed piles: about 3 to 5 months
A managed pile is built with a mix of greens and browns, kept damp, and maintained over time. Under these conditions, U.S. EPA (2026) gives a timeline of about 3 to 5 months. A pile that is turned less often will usually take longer to finish.
Untended heaps: up to one year
An untended heap is left without regular turning or adjustment. According to U.S. EPA (2026), this type of pile can take up to a year to break down. The difference from a managed pile comes down to the attention given to it, not to the materials alone.
| Situation | Time frame | Source |
|---|---|---|
| Well-maintained pile | About 3 to 5 months | U.S. EPA (2026) |
| Untended heap | Up to 1 year | U.S. EPA (2026) |
| Curing before application | At least 4 weeks | U.S. EPA (2026) |
Curing period: at least 4 weeks
Once the pile has broken down, the finished compost should cure for at least 4 weeks before it is applied to the garden. Keep the material aside during this time, and avoid adding it to beds straight from the pile. The official sources consulted describe this as a minimum, so a longer curing period is acceptable.
Using finished compost in your beds
Finished compost works in two ways in a vegetable bed: worked into the soil as an amendment, or spread over the surface as a surface mulch. According to U.S. EPA (2026), you can mix 2–4 inches of compost into the top 6–9 inches of soil, or apply a 3-inch layer as mulch kept a few inches from stems. Both methods work best with compost that has finished curing.
| Method | Thickness | Placement |
|---|---|---|
| Mixed amendment (U.S. EPA, 2026) | 2–4 inches | Mixed into the top 6–9 inches of soil |
| Light top-dressing (Harvest to Table, 2026) | About 1 inch | Spread on beds in early spring and after harvest |
| Surface mulch (U.S. EPA, 2026) | 3 inches | Kept a few inches away from stems |
Mixing compost into the soil
The mixed amendment method suits beds you are preparing or replanting.
- Spread 2–4 inches of compost over the bed.
- Work it into the top 6–9 inches of soil with a fork or spade.
- Keep the compost away from the base of existing plants when you dig it in, so stems are not buried.
For a lighter feed between crops, Harvest to Table (2026) suggests spreading about 1 inch of compost on beds in early spring and after harvest.
Applying compost as surface mulch
A surface mulch protects the soil and gradually adds organic matter without digging.
- Spread a 3-inch layer over the soil between plants.
- Pull the layer back a few inches from each stem so the stem is not buried or crowded.
- Water gently afterward, so the mulch does not stay soaked against the plant base.
Checking whether compost is ready
The official sources consulted do not specify exact color or texture thresholds, so judge maturity by observation:
- Smell: Mature compost smells earthy, like forest soil.
- Color: Dark and uniform, with no bright or pale patches of unchanged material.
- Texture: Crumbly and loose, not slimy or clumpy. Original ingredients such as leaves and twigs should be hard to recognize.
Troubleshooting smells and pests
A healthy pile smells earthy. When it doesn’t, the odor usually points to one imbalance, and the fix is nearly always the same: add dry browns, turn the material, and cover any exposed scraps. According to U.S. EPA (2026), a pile that smells bad is probably too wet, so add browns and turn it.
Sour or rotten smells
A sour or rotten smell means the pile lacks enough dry carbon-rich material and the wet greens are decomposing without enough air. The organic correction is to add browns and then turn the pile.
- Add browns until they make up at least 2 to 3 times the volume of greens, as recommended by U.S. EPA (2026).
- Turn the pile with a garden fork so the wet core moves to the outside and receives air.
- Recheck after a few days. A fading smell is a good sign, but also confirm the pile is as damp as a wrung-out sponge and that no scraps are exposed. If the smell persists, add another layer of browns and turn again.
Ammonia odor
A sharp ammonia smell appears when the pile holds too much nitrogen-rich green material, such as fresh grass clippings, coffee grounds or fruit and vegetable scraps. The microbes cannot use all the nitrogen, so it escapes as gas.
- Stop adding greens until the smell subsides.
- Mix dry browns into the affected layers and turn the pile to distribute them evenly.
- Resume adding greens in smaller quantities, always followed by browns.
Rats and flies
Exposed food scraps attract rodents and flies. Bury scraps under 4 to 8 inches of browns, keep animal products out of the pile, and use a lidded bin with gaps under ¼ inch to keep rodents out.
Quick reference
| Symptom | Likely cause | Organic correction |
|---|---|---|
| Sour or rotten smell | Too wet, too few browns | Add browns and turn the pile |
| Ammonia odor | Excess nitrogen-rich greens | Pause greens, mix in browns, turn |
| Rats or flies | Food scraps left exposed | Bury scraps under 4 to 8 inches of browns |
Frequently asked questions
How long does homemade compost take to be ready?
A well-maintained pile is usually ready in about 3 to 5 months, while an untended pile can take up to a year. According to U.S. EPA (2026), finished material should then cure for at least 4 weeks before you use it in the garden.
Can I add cooked food, meat or dairy to my compost pile?
No. According to U.S. EPA (2026), meat, fish, bones, dairy, fats and oils should stay out of a backyard pile, because it rarely gets hot enough to break them down. Stick to fruit and vegetable scraps, coffee grounds and other greens, and bury them under browns to limit odors and pests.
How much finished compost should I spread on vegetable beds?
U.S. EPA (2026) recommends mixing 2 to 4 inches into the top 6 to 9 inches of soil, or spreading a 3-inch layer of mulch kept a few inches from plant stems. Harvest to Table (2026) suggests about 1 inch on beds in early spring and after harvest as a lighter top dressing.