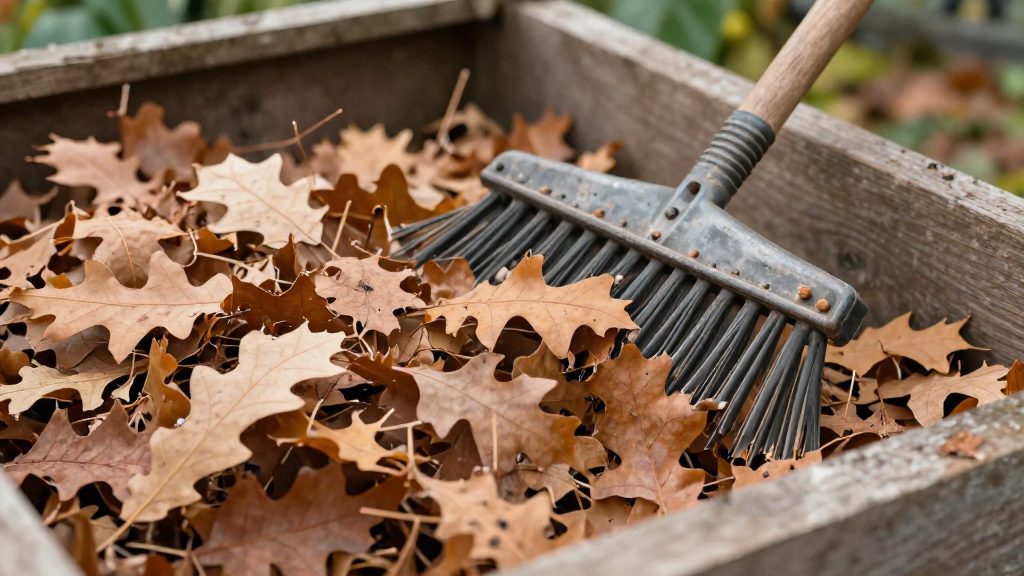
What is leaf mold and why use it?
Fungal decomposition compared with bacterial composting
Leaf mold is broken down chiefly by fungal decomposition. A conventional compost heap depends on a wider community of bacteria and other organisms working on a mix of plant materials. Leaf mold is made from leaves alone and is broken down mostly by fungi. A conventional compost heap depends on a wider community of bacteria and other organisms working on a mix of plant materials. Leaf mold generally gives a looser, less nutrient-dense material than most finished compost.
For the home gardener, this distinction matters in practice. Leaf mold is best judged by what it does to soil physically, not by how quickly it heats or how much plant food it supplies.
Soil structure and moisture retention
According to the Old Farmer’s Almanac (2026), leaf mold improves soil structure and helps the soil hold water. Adding it to beds improves soil structure and helps the soil retain moisture.
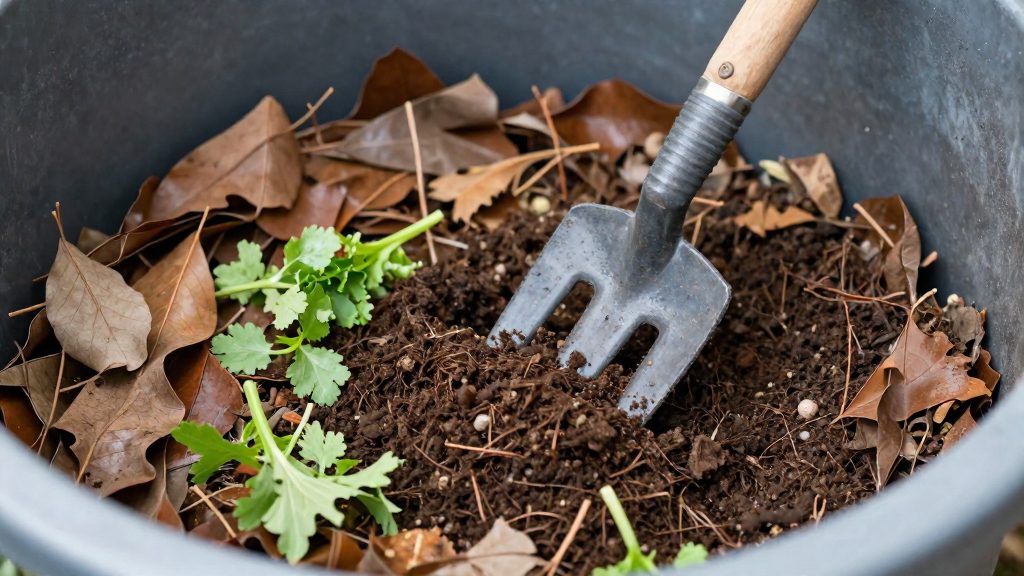
Keeping the leaves as damp as a well-wrung sponge during breakdown also helps the material stay workable. If the leaves mat down, loosening them with a garden fork restores airflow.
Why it is not a complete fertilizer
Leaf mold does not supply a full range of plant nutrients. The Old Farmer’s Almanac (2026) states that it improves soil structure and moisture retention but is not a complete fertilizer. Its value lies in the physical condition of the soil.
Gardeners who need to feed crops should combine leaf mold with a separate nutrient source, such as compost or an approved organic fertilizer, and treat leaf mold as one part of a soil-building routine.
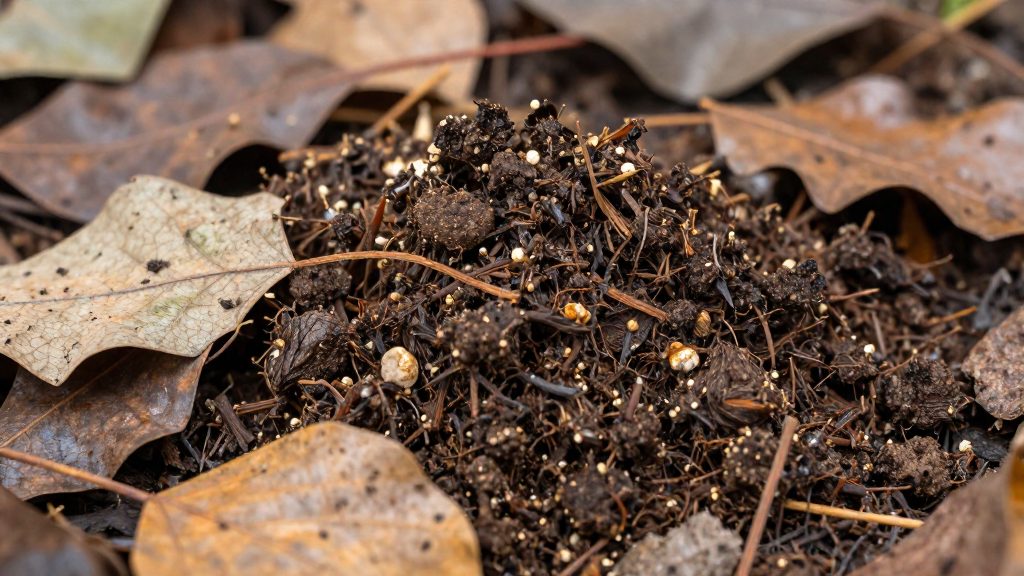
Which leaves work best?
Deciduous broadleaf trees produce the most suitable leaves for leaf mold. Grow a Good Life (2026) lists ash, beech, birch, maple, linden, poplar and willow among the leaves that break down readily in a pile. These leaves are thin and soft enough to decompose into a dark, crumbly material that holds moisture well. Mixing several species in one pile gives a more even texture and avoids large clumps of a single type.
| Leaf type | Use in pile? | Reason |
|---|---|---|
| Ash, beech, birch, maple, linden, poplar, willow | Yes | Break down readily into leaf mold (Grow a Good Life, 2026) |
| Conifer needles | No | Excluded by Grow a Good Life (2026) |
| Holly, laurel, camellia (thick evergreens) | No | Excluded by Grow a Good Life (2026) |
| Leaves from chemically treated lawns or areas | No | Excluded by Grow a Good Life (2026) |
| Visibly diseased leaves | No | Cold piles do not kill pathogens (This Old House, 2026) |
Conifer needles are excluded: Grow a Good Life advises against using them for leaf mold. Thick evergreens such as holly, laurel and camellia have leathery leaves that resist breakdown, so they stay in the pile for a long time without contributing much.
Before adding leaves, remove any that show spots, blight or other signs of disease. Because a cold pile does not reach the temperatures needed to kill pathogens, diseased material can carry problems into the finished leaf mold and then into your beds.
How do you make leaf mold step by step?
Leaf mold is built from fallen leaves that are shredded, moistened, loosened when they compact, and stacked into a pile of adequate size. Each step affects how evenly the leaves break down. The method below follows the practice described by the Old Farmer’s Almanac (2026) and Grow a Good Life (2026).
| Step | Action | Key detail |
|---|---|---|
| 1. Shred | Run a lawn mower over the leaves | Shredding speeds up breakdown |
| 2. Moisten | Dampen the leaves to the right level | Keep them as damp as a well-wrung sponge |
| 3. Loosen | Work any matted leaves with a garden fork | Prevents a dense, airless mass |
| 4. Build | Stack the pile at least 4 to 5 feet across and high | Applies to an open pile |
Step 1: Shred the leaves
Shredding comes first. According to the Old Farmer’s Almanac (2026), shredding the leaves speeds up breakdown, and mowing over them is an easy way to do it. Whole leaves form a dense layer that decomposes slowly, while chopped leaves offer more surface for the process to work on. Run the mower over a pile of dry leaves on the lawn, then collect the shredded material.
Step 2: Bring the leaves to the right moisture
Next, check the moisture. The Almanac advises keeping the leaves “as damp as a well-wrung sponge.” Sprinkle the shredded leaves with water in layers and mix as you go. Avoid soaking them, because waterlogged leaves hold too little air. The leaves should feel damp throughout, not wet enough to drip.
Step 3: Loosen matted leaves
Wet leaves tend to clump together. If they mat down, the Almanac recommends loosening them with a garden fork. Turning the material this way reintroduces air pockets into the pile.
Step 4: Build the pile
Grow a Good Life (2026) states that an open pile should be at least 4 to 5 feet across and high. Build it in one place rather than adding small amounts over weeks, so the pile reaches that size. This Old House (2026) describes a faster approach that also adds a nitrogen source, but the sources consulted do not specify the amount or type of nitrogen material to use.
Pile, bin or bag: which method?
Three setups cover most gardens: an open pile, a bin, and a plastic bag. The right choice depends mainly on how many leaves you collect each autumn and how much ground you can spare. An open pile handles large volumes, a bin suits smaller yards and tidier storage, and a bag works for a single small batch. The leaves and basic steps stay the same in each case, so the decision comes down to scale.
Comparison at a glance
| Method | Best for | Space | Speed |
|---|---|---|---|
| Open pile covered with a tarp | Large volumes of leaves | Largest footprint | Fastest route when leaves are shredded (This Old House, 2026) |
| Bin | Smaller yards and tidy storage | Compact, contained | The official sources consulted do not specify a comparative speed |
| Plastic bag | Small batches | Minimal, fits a corner or shed | The official sources consulted do not specify a comparative speed |
Open pile covered with a tarp
An open pile is the option for large quantities. Grow a Good Life (2026) recommends covering an open pile with a tarp, which keeps the heap contained and protected while the leaves break down.
Because a cold pile does not kill pathogens, This Old House (2026) advises avoiding diseased leaves.
Bin for smaller yards
A bin keeps leaves in a defined space, which makes sense for small gardens or when you want the compost area to look orderly. The official sources consulted do not specify bin dimensions, materials or timing, so apply the same principles as for the open pile: shred the leaves first and add them gradually so the material stays evenly mixed.
Small batch in a plastic bag
For a small quantity, the Old Farmer’s Almanac (2026) describes a simple method. Moisten the leaves, place them in a plastic bag, poke several holes in the bag, and tie it loosely. The holes and loose tie allow air to reach the leaves, and the bag is easy to store in a shed or corner while the leaves break down.
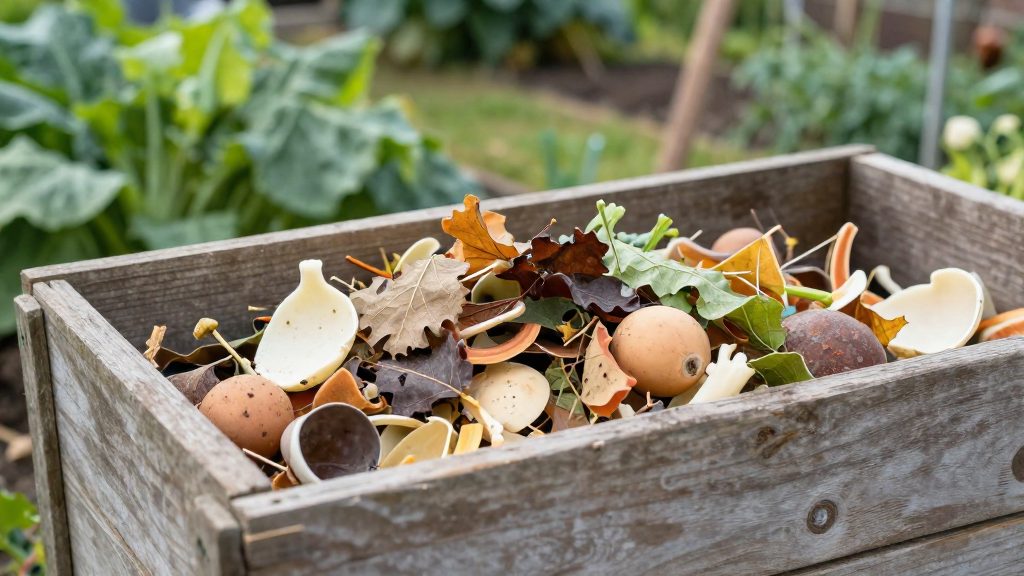
How long does leaf mold take?
Leaf mold typically takes 1 to 2 years to form, according to the Old Farmer’s Almanac (2026), and it can take longer depending on the leaves and conditions. The main factor is the leaf species. Some leaves break down in about a year or less, while tougher leaves take 18 to 24 months or more. Grow a Good Life (2026) sorts common leaves into two timeframe groups, and the faster group covers most of the leaves gardeners collect in quantity.
Timeframes by leaf type
| Leaf type | Typical time to break down | Source |
|---|---|---|
| Ash, beech, birch, cherry, elm, linden, maple, poplar, willow | About a year or less | Grow a Good Life (2026) |
| Oak, chestnut, magnolia, sycamore | 18 to 24 months or more | Grow a Good Life (2026) |
| Mixed leaves, general guidance | 1 to 2 years, sometimes longer | Old Farmer’s Almanac (2026) |
Fast-breaking leaves
Leaves from ash, beech, birch, cherry, elm, linden, maple, poplar and willow are the quickest to turn into leaf mold. A pile of these leaves can be ready within about a year, which makes them a practical choice for gardeners who want usable material sooner.
Slow-breaking leaves
Oak, chestnut, magnolia and sycamore take 18 to 24 months or longer. Because of this, a pile built from these leaves needs more time before the finished material is ready to use. Plan storage space for a longer cycle if these leaves make up most of your collection.
How conditions change the timeline
This Old House (2026) describes a faster method that reaches finished leaf mold in about 6 months. It involves shredding the leaves, building a pile about 4 feet high, wide and deep, and adding a nitrogen source. Grow a Good Life (2026) recommends an open pile at least 4 to 5 feet across and high, covered with a tarp. Only the faster This Old House method, which adds a nitrogen source, is reported to finish in about 6 months. The Grow a Good Life pile size is not linked to a shorter timeline. Treat all of these figures as ranges rather than fixed dates, since the actual time depends on weather and how the pile is kept.
How to use leaf mold as mulch and in seed-starting mixes
Partly decomposed leaf mold works as a surface mulch, while finished leaf mold is the material to blend into seed-starting mixes. According to Old Farmer’s Almanac (2026), partly decomposed leaf mold can be spread 1 to 2 inches thick around trees, shrubs and perennials. According to Grow a Good Life (2026), finished leaf mold can partly replace peat moss in seed-starting and container mixes. The official sources consulted do not give a ratio for mixing leaf mold into vegetable beds.
| Use | Leaf mold state | Application | Source |
|---|---|---|---|
| Surface mulch | Partly decomposed | 1 to 2 inches thick, kept a few inches from stems and trunks | Old Farmer’s Almanac (2026) |
| Seed-starting mix | Finished | Blended with compost, perlite, vermiculite or sand | Grow a Good Life (2026) |
Spreading partly decomposed mulch
The steps below follow the Almanac’s guidance for mulching:
- Check that the leaf mold is partly broken down. Fresh leaves are not yet suited to this use.
- Spread a layer 1 to 2 inches thick over the soil.
- Leave a gap of a few inches around each plant stem.
- Check plants over the following weeks and adjust the layer if it packs down or stays wet at the surface.
The Almanac’s mulch guidance is written for trees, shrubs and perennials. The official sources consulted do not specify rates for annual vegetables, so keep the layer within the same thickness range and stay a few inches from stems.
Replacing part of peat moss in seed starting
Leaf mold should only partly replace peat moss. Use finished material and blend it with compost, perlite, vermiculite or sand.
Common mistakes to avoid
Most problems with leaf mold come from a few predictable errors: mixing in the wrong leaves, using unfinished material where a finished product is needed, and expecting results faster than the process allows. The points below cover the errors that slow breakdown, can harm plants, or produce poor results in the garden.
Adding black walnut leaves to the main heap
Black walnut leaves contain juglone. According to the Old Farmer’s Almanac (2026), these leaves should be composted separately for at least 6 months before use. Do not add them to a general leaf pile that will later be spread around vegetables, shrubs or perennials. The Almanac’s guidance is to compost these leaves separately for at least 6 months before use.
Spreading raw, unfinished leaves as mulch
Fresh leaves are not the same as leaf mold. Leaf mold forms over time, typically within 1 to 2 years according to the Old Farmer’s Almanac (2026). Leaves that have not broken down yet tend to mat together, which blocks air and water from reaching the soil.
Expecting leaf mold to feed heavy feeders alone
As noted earlier, leaf mold is not a complete fertilizer, so pair it with compost or another organic fertilizer.
Leaving leaves whole and expecting quick results
Whole leaves break down slowly. Leaf species also differ widely. According to Grow a Good Life (2026), leaves from ash, beech, birch, cherry, elm, linden, maple, poplar and willow break down in about a year or less, while oak, chestnut, magnolia and sycamore take 18 to 24 months or more.
Frequently asked questions
How long does leaf mold take to form?
According to the Old Farmer’s Almanac (2026), leaf mold usually needs one to two years to form, and sometimes longer, depending on the leaf type and conditions. If you need it sooner, This Old House (2026) describes a faster method: shred the leaves, build a pile about 4 feet high, wide and deep, and add a nitrogen source, which takes about 6 months.
Which leaves should I avoid putting in the pile?
Grow a Good Life (2026) advises against conifer needles, leaves from chemically treated areas, and thick evergreens such as holly, laurel and camellia. Black walnut leaves contain juglone, so the Old Farmer’s Almanac (2026) recommends composting them separately for at least 6 months before use.
Can I use leaf mold instead of compost or fertilizer?
Not on its own. The Old Farmer’s Almanac (2026) notes that leaf mold improves soil structure and moisture retention but is not a complete fertilizer. For hungry crops, pair it with compost or an approved organic fertilizer, and use partly decomposed leaf mold as a 1 to 2 inch mulch kept a few inches away from stems and trunks.