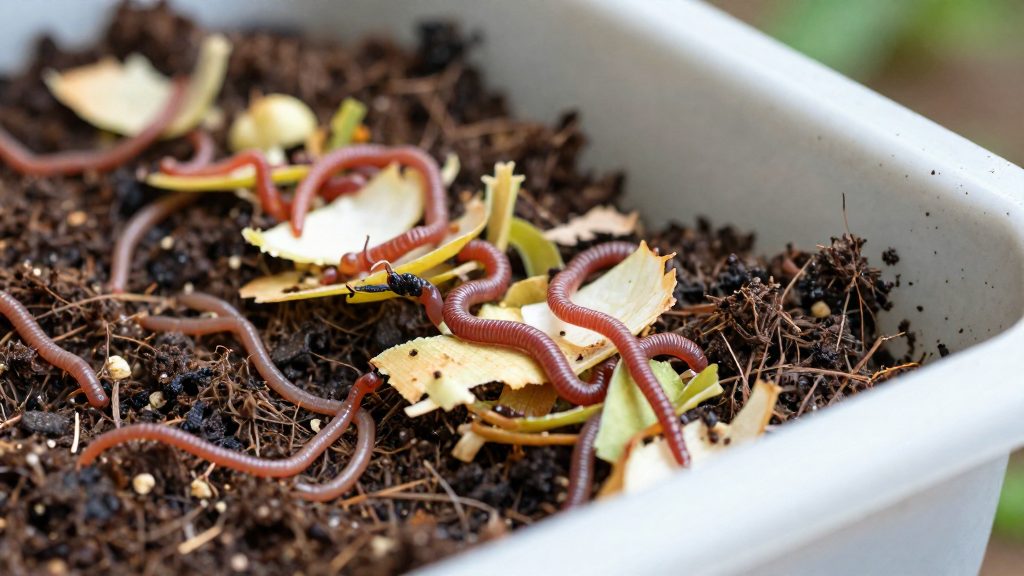
A worm bin turns kitchen scraps into finished material called castings, so vegetable peelings and similar waste stay out of the household bin and out of landfill. The worms do the processing inside a closed container, which lets a gardener recycle food waste without a large outdoor heap. According to UF/IFAS Extension, Sarasota County, one pound of worms processes about half a pound of kitchen scraps per day.
Why use a worm bin for kitchen scraps?
Diverting kitchen waste from the household bin
A worm bin handles food waste on site, so scraps no longer travel from the kitchen to the general household bin. The process relies on the worms breaking organic matter down over time rather than on any added chemical treatment, which makes it a natural alternative to disposal-based waste management.
Castings compared with conventional compost
The official sources consulted do not specify a nutrient comparison between worm castings and conventional compost, so this guide does not quantify one. What the sources do describe is the harvesting method. To harvest, push the finished material to one side and add fresh bedding and scraps on the other side so the worms migrate, according to UF/IFAS Extension, Sarasota County. That source says the compost is ready after 2 to 3 months.
Once harvested, the material can be worked into garden beds or potting mix as a soil amendment. Rates of application are not specified in the sources consulted.
Suitability for balconies, apartments and small kitchens
A worm bin suits small spaces because it is a single closed container and does not require a garden plot. Its main requirements are conditions rather than floor area.
Choosing the right bin
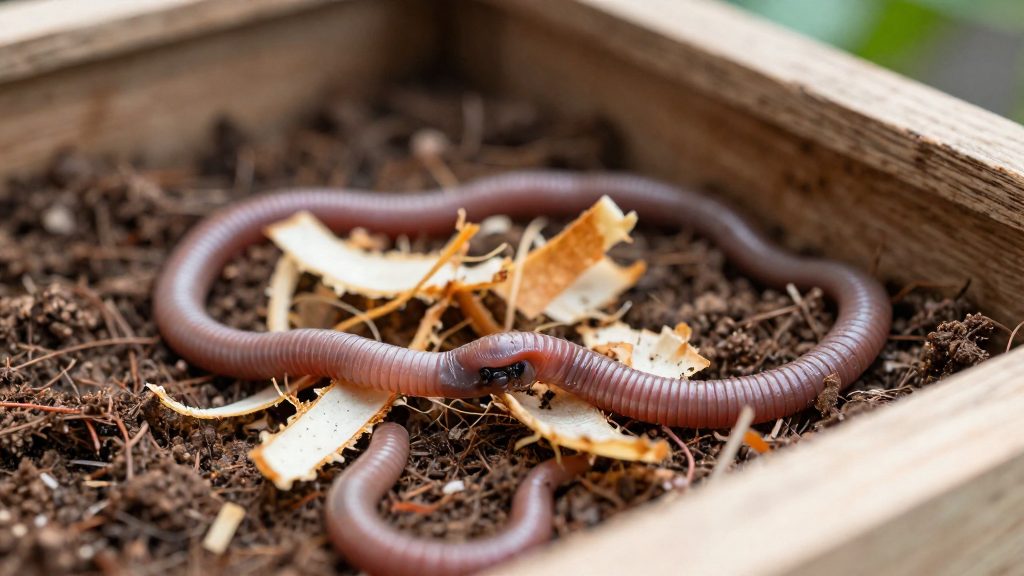
According to UF/IFAS Extension, Sarasota County, a worm bin can be an 18-gallon plastic container with a lid. This size is a practical starting point for kitchen scraps. Recycled containers of similar capacity can serve the same purpose if they meet the same requirements.
The lid should fit closely. A snug lid keeps light out, limits the escape of moisture, and keeps the contents in place. A loose lid lets the bin dry out faster and exposes the worms to light.
Ventilation and drainage depend on holes in the container walls. Drill small holes in the sides, near the top, to allow air exchange. Add a few holes in the base so that excess liquid drains rather than pooling at the bottom. Keep the holes small enough that the worms cannot pass through them, and place a tray or saucer beneath the bin to catch drainage.
Placement matters as much as the container. UF/IFAS Extension advises keeping the bin between 60 and 80 °F, in shade and out of direct sun. Choose a shaded spot such as a covered patio, a north-facing wall, or a shaded corner of a garage. In hot weather, move the bin into shade before midday heat builds. The official sources consulted do not specify protection methods for temperatures outside the 60 to 80 °F range, so check local conditions before setting up the bin outdoors.
| Element | Requirement | Source |
|---|---|---|
| Container | 18-gallon plastic, with lid | UF/IFAS Extension, Sarasota County |
| Temperature | 60 to 80 °F | UF/IFAS Extension, Sarasota County |
| Light | Shade, out of direct sun | UF/IFAS Extension, Sarasota County |
Which worms should you buy?
UF/IFAS Extension (Sarasota County) names red wigglers and African nightcrawlers as the two worm types for a kitchen worm bin, and recommends starting with 1/2 to 1 pound of worms. The worm weight is the main sizing decision for a kitchen bin.
Red wigglers versus African nightcrawlers
Both species are listed as suitable. The main difference UF/IFAS Extension gives is size and reproduction speed:
| Feature | Red wigglers | African nightcrawlers |
|---|---|---|
| Body size | Smaller | Larger than red wigglers |
| Reproduction | Faster | Slower than red wigglers |
Because red wigglers multiply faster, a starting population of them grows more quickly toward the amount needed for your scraps. The official sources consulted do not specify other characteristics of African nightcrawlers that would change this choice for a kitchen bin.
Matching the starting quantity to your scraps
The processing rate gives a simple calculation:
- Pounds of worms needed = pounds of scraps per day ÷ 0.5
- A starting population of 1/2 pound handles about 1/4 pound of scraps per day.
- A starting population of 1 pound handles about 1/2 pound of scraps per day.
For example, a household producing 1/2 pound of kitchen scraps daily fits the 1-pound starting amount, while 1 pound of daily scraps points to about 2 pounds of worms. Households producing more than 1/2 pound of scraps per day will need more worms than the 1-pound top of the starting range. The official sources consulted do not specify how to scale beyond it.
How do you set up bedding?
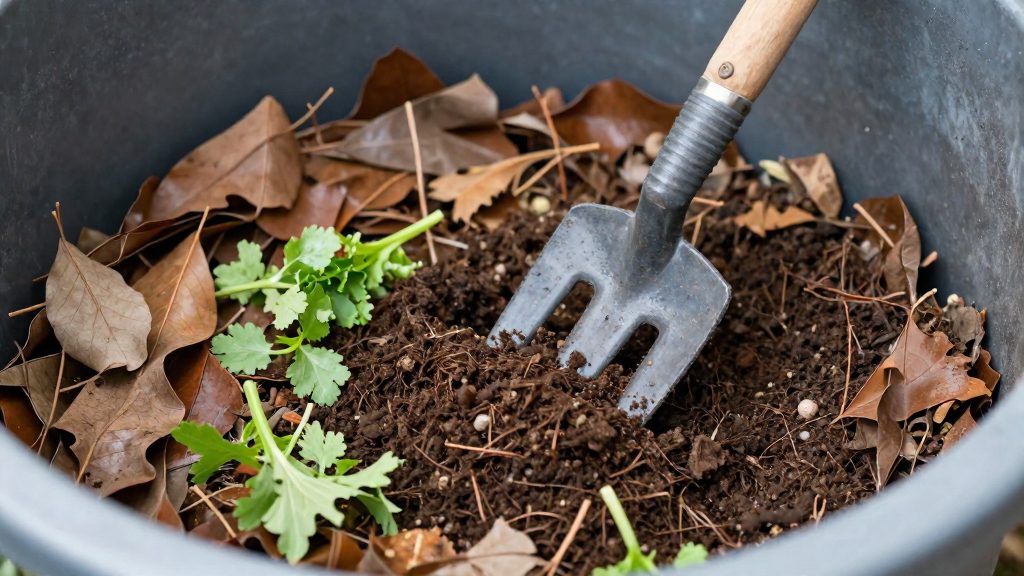
The bedding is the moist, airy habitat the worms live in before the first scraps arrive. According to UF/IFAS Extension, Sarasota County, it is built from shredded newspaper, paper or cereal boxes, which fill the bin about one-third full. A couple of handfuls of sand or soil are then added and the mix is moistened. The goal is a material loose enough to let air move through it and damp enough to hold water for the worms.
Prepare the paper material
Use one or more of these materials:
- Newspaper, torn or shredded into strips
- Paper, cut or shredded the same way
- Cereal boxes, which are cardboard, cut into strips
Cut every piece into strips about 1 inch wide. Uniform strips mix more evenly and spread through the bin without leaving dense clumps.
Fill the bin to one-third
Spread the strips loosely until the bin is about one-third full. Avoid pressing them down, because compacted bedding holds less air. Keep the strips in a loose layer rather than stacking them into a solid block.
Add sand or soil
Add a couple of handfuls of sand or soil and mix it through the strips. This is the step that adds grit to the bedding, as described by UF/IFAS Extension, Sarasota County. Work it in evenly so the mineral material is not concentrated in one spot.
Moisten to sponge dampness
Sprinkle water over the mix while stirring, until the bedding is as damp as a moist sponge, according to the Old Farmer’s Almanac. A moist sponge feels wet but releases little or no water when squeezed, so use that as your check. Dry bedding is too dry for the worms, and soaked bedding works against the airy structure you built in the earlier steps.
What can you feed your worms?
Worms in a home worm bin do best on plant-based scraps. Vegetable peelings, fruit trimmings and other plant leftovers make up the everyday diet. According to UF/IFAS Extension, Sarasota County, plant-based scraps work best. The amount you add depends on how many worms you have.
Choosing and preparing scraps
Collect plant matter from routine kitchen preparation and add it to the bin as it accumulates, rather than in large batches. Keeping a small container by the sink makes this easy.
Before adding scraps, chop them small. Smaller pieces have more surface area for the worms to work on, which helps the material break down more evenly. Large chunks of peel or stalk can stay intact for a long time and attract attention from other organisms.
Burying scraps in the bedding
Worms feed best when scraps sit inside the bedding instead of on top of it. The Old Farmer’s Almanac advises burying scraps in the top 1 to 3 inches of bedding. The method is simple:
- Push the existing bedding aside with your hand.
- Place the chopped scraps in the opening.
- Cover them with the bedding and smooth the surface.
Rotate the spot where you bury each addition so the bin is fed evenly across its surface.
Checking moisture after feeding
Feeding also affects moisture. Fresh scraps add water, so check the bedding after each addition. If it feels soggy, add dry shredded paper. If it dries out, lightly mist it.
What should never go in the bin?
Most of what goes wrong in a worm bin comes from a short list of materials. The two sources consulted, UF/IFAS Extension in Sarasota County and the Old Farmer’s Almanac, agree on the main exclusions: animal products, oily or fatty foods, vinegar, dairy, and produce treated with pesticides. Citrus peels are allowed only in small amounts.
| Material | Guidance | Source |
|---|---|---|
| Meat | Exclude (Old Farmer’s Almanac); UF/IFAS advises keeping animal products to a minimum to avoid odors | UF/IFAS Extension (Sarasota County); Old Farmer’s Almanac |
| Bones | Exclude | Old Farmer’s Almanac |
| Fat | Exclude | Old Farmer’s Almanac |
| Oils | Exclude | Old Farmer’s Almanac |
| Dairy | Exclude | Old Farmer’s Almanac |
| Eggs and cheese | Keep to a minimum, as with other animal products, to limit odours | UF/IFAS Extension (Sarasota County) |
| Pesticide-treated produce | Exclude | Old Farmer’s Almanac |
| Vinegar | Exclude | Old Farmer’s Almanac |
| Citrus peels | Use sparingly | Old Farmer’s Almanac |
Animal products
Meat, eggs and cheese are the only items the sources tie directly to odours. UF/IFAS advises keeping them to a minimum. Bones, fat, oils and dairy appear on the Almanac’s avoid list, but the consulted sources do not explain their effect on the worms in detail. The practical rule: leave meat, bones, fat, oils and dairy (including cheese) out of the bin, and keep eggs to a minimum.
Pesticide-treated produce
Produce treated with pesticides should not be added. The Almanac lists it as something to avoid, and the sources do not specify which compounds are a problem. For a bin that stays chemical-free, use organic produce or scraps from your own untreated garden. Organic vegetable and fruit trimmings are the safer choice for the worms.
Vinegar and citrus
Vinegar is on the avoid list, so keep vinegar-based sauces and pickling liquids out of the bin. Citrus peels are not banned, but the Almanac advises going easy on them. Add only small amounts, and mix them with other plant scraps.
How do you harvest worm castings?
The migration method separates finished castings from the worms without sorting them by hand. You push the finished material to one side of the bin, then add fresh bedding and scraps to the other side. The worms move toward the new food, which leaves the castings largely free of worms. According to UF/IFAS Extension (Sarasota County), compost is ready after 2 to 3 months, so the cycle is normally timed around that window rather than harvested on a fixed date.
Step-by-step method
| Step | Action | Detail |
|---|---|---|
| 1 | Stop feeding one side | Leave the finished side without new scraps so it stops receiving food. |
| 2 | Push the compost aside | Gather the dark, processed material against one wall of the bin. |
| 3 | Add fresh bedding | Place new bedding on the empty side. |
| 4 | Add new scraps | Add scraps to the fresh side. |
| 5 | Wait for migration | Let the worms move to the fresh side. The official sources consulted do not specify how long this takes. |
| 6 | Harvest the castings | Remove the compost from the side the worms have left. |
Recognizing readiness
The main readiness signal is time. UF/IFAS Extension links a finished batch to roughly 2 to 3 months of processing. The sources do not specify when the 2 to 3 months begin, so treat the timeframe as an estimate. The official sources consulted do not describe visual or texture indicators in detail, so judge by the timeline and by whether the material has broken down enough to no longer resemble the original scraps.
The sources consulted give a working range of 60 to 80 °F, so keep the bin within it during the harvest.
Frequently asked questions
What size bin do I need to start a worm bin for kitchen scraps?
According to UF/IFAS Extension, Sarasota County, an 18-gallon plastic container with a lid is a practical starting size, and a recycled container of similar capacity works if it meets the same requirements. Fill about one-third of it with shredded newspaper, paper or cereal boxes cut into 1-inch strips, add a couple of handfuls of sand or soil, and moisten the bedding until it feels as damp as a wrung-out sponge.
Which kitchen scraps should stay out of a worm bin?
Plant-based scraps work best. The Old Farmer’s Almanac advises keeping meat, bones, fat, oils, dairy (including cheese), vinegar and pesticide-treated produce out of the bin, and going easy on citrus peels. UF/IFAS Extension, Sarasota County, advises keeping eggs and other animal products to a minimum to avoid odors.
How many worms do I need, and how much waste can they handle?
UF/IFAS Extension, Sarasota County, recommends starting with 1/2 to 1 pound of worms, and suggests red wigglers or African nightcrawlers, since red wigglers are smaller and reproduce faster. At that rate, one pound of worms processes about 1/2 pound of kitchen scraps per day, so a household producing more than 1/2 pound of scraps per day will need more worms than the top of the starting range.