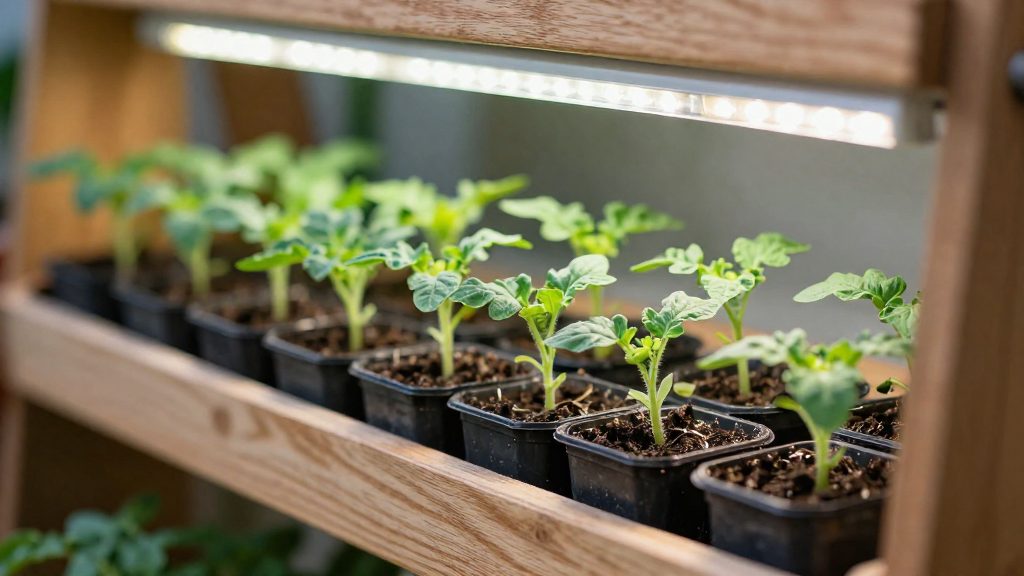
Indoor windowsills often fail to give seedlings enough usable light, which is why young plants grown there tend to become weak and leggy. Artificial grow lights provide a controlled light source in place of an unreliable one, and they matter most in late winter and early spring, when daylight is short. According to NDSU Extension (2021-02-23), fluorescent and blue-and-red LED lights work well for seedlings, so a dedicated light setup is a practical way to get sturdy early growth indoors.
Why use grow lights for seedlings?
A windowsill can look bright, but it is a weak light source for seedlings. The light reaching a tray depends on the window’s orientation, the glass, outdoor cloud cover, and the room layout. Light that arrives at a low angle or passes through glass reaches the seedlings with less strength and often unevenly, which makes a single window poor for raising a full tray.
Weak, leggy seedlings on windowsills
In practice, seedlings raised on a windowsill often show the following problems:
- Stems grow long and thin instead of short and sturdy.
- Plants lean toward the glass, so one side of the tray receives more light than the other.
- Turning the tray every day evens out the lean but does not add light, so the shortage remains.
- Weak seedlings are more fragile when they are moved outdoors.
The official sources consulted do not explain the internal mechanism in detail, but these symptoms are the usual signs that a windowsill is not supplying enough light.
Daylight shortage in late winter and early spring
Outdoor daylight is weakest in winter and gradually strengthens as spring advances, and overcast days reduce it further. Seed starting usually begins several weeks before the average last frost date, according to NC State Extension, Currituck County Center (2026-02-04). That means seedlings are often sown during the period when natural light is most limited.
Timing depends on your region and climate, so check the local last frost date for your area before choosing when to sow. Starting seedlings indoors under a dedicated light allows you to begin early without waiting for the weather to improve.
Controlled conditions versus unpredictable indoor sunlight
| Factor | Windowsill | Grow light setup |
|---|---|---|
| Light source | Window glass, dependent on weather and season | Lamp placed over the tray |
| Day-to-day consistency | Changes with cloud cover and time of year | Same light each day |
| Light across the tray | Often uneven, strongest near the glass | Spread over the whole tray |
With a grow light, you control the light source rather than relying on the sky. The seedlings receive the same conditions each day, which makes early growth more predictable and easier to manage.
Which grow lights work best?
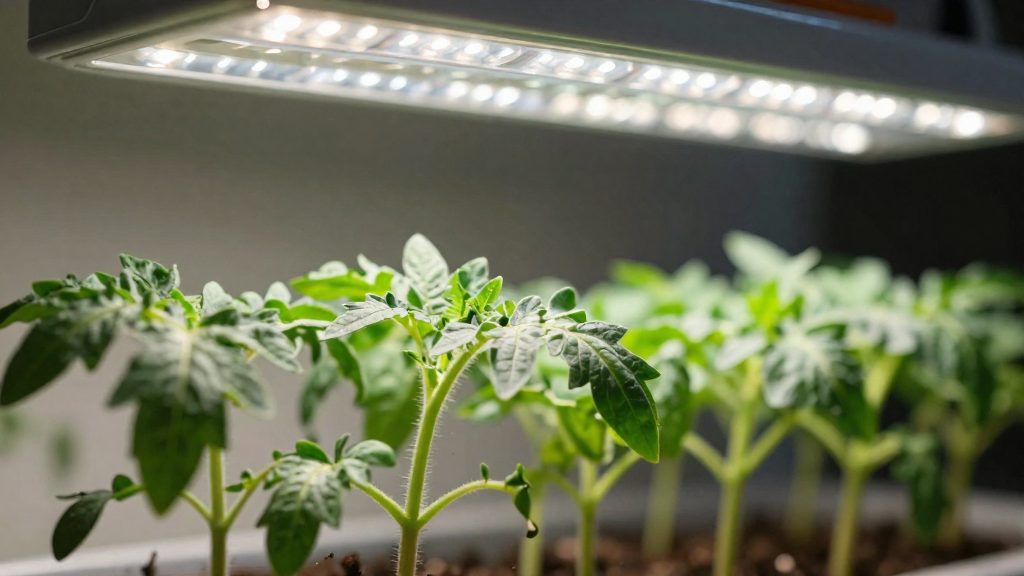
Three lamp types cover most home seed-starting setups: fluorescent tubes, blue-and-red LED panels, and standard shop lights (which are themselves fluorescent or LED fixtures). According to NDSU Extension (2021-02-23), fluorescent lights (grow lights or cool-white and warm-white tubes) and blue-and-red LEDs both work well for seedlings. Your choice depends mainly on budget, the number of trays you start, and how much space you have.
Fluorescent tubes: cool-white and warm-white
Cool-white and warm-white tubes are both listed as suitable for seedlings (NDSU Extension, 2021-02-23). Tubes work well for flats set side by side on a shelf, because a fixture with several tubes covers a wide area.
Blue-and-red LED panels
Blue-and-red LED panels are a recognized option for seedlings (NDSU Extension, 2021-02-23). Their output is limited to blue and red light, which separates them from white tubes.
Standard shop lights as a budget alternative
Standard shop lights are the lowest-cost route. Mississippi State University Extension states that standard shop LED or fluorescent lights work for seedlings when placed close enough to the plants, and that special grow lights are not required. Check that the fixture takes an LED or fluorescent tube and that it can be hung at an adjustable height.
Comparison of options
| Option | Status for seedlings | Key point |
|---|---|---|
| Cool-white fluorescent tube | Suitable (NDSU Extension, 2021-02-23) | No difference from warm-white documented in consulted sources |
| Warm-white fluorescent tube | Suitable (NDSU Extension, 2021-02-23) | Same as cool-white for seedling use |
| Blue-and-red LED panel | Suitable (NDSU Extension, 2021-02-23) | Emits blue and red light |
| Standard shop LED or fluorescent fixture | Suitable (Mississippi State University Extension) | No special grow light required |
| Incandescent bulb | Not recommended (NDSU Extension, 2021-02-23) | Produces too much heat and the wrong light range |
How far should lights be from seedlings?
Grow lights should stay close to seedlings throughout the early stage. According to NDSU Extension (2021), lights should be kept no more than 4 to 6 inches from the plants, and right after germination they should sit nearly touching the seedlings. The distance is not a one-time setting. Checking the distance matters most in the first days after sprouting, when the seedlings are smallest and closest to the light.
| Stage | Lamp position |
|---|---|
| Right after germination | Nearly touching the seedlings |
| Any time during growth | No more than 4 to 6 inches away |
Setting the distance at germination
- Once the first shoots emerge, lower the lamp until it sits almost directly above the seedlings.
- Measure from the top of the foliage to the lamp, not from the tray surface, so the reading reflects where the leaves actually are.
- Adjust the height if the tray is uneven, since a single high corner can leave some seedlings farther from the light than others.
Raising lights as seedlings grow
Seedlings get taller over the following days and weeks, so the gap widens without any change to the lamp. Raise the fixture as needed to keep the 4 to 6 inch maximum. Simple methods include:
- Hanging the fixture on adjustable chains so it can be lifted in a few seconds without disassembling the setup.
- Raising the tray on a sturdy block or inverted pot when the lamp is fixed in place, which brings the seedlings up toward the light.
- Keeping a short ruler or wooden stick beside the tray to check the gap quickly at each inspection.
How many hours of light do seedlings need?
Seedlings started indoors under grow lights need about 16 hours of light a day, according to NDSU Extension (2021-02-23). University of Illinois Extension (2025-03-10) gives a wider target of 12 to 16 hours a day. Together, these sources point to a daily photoperiod in that range, with 16 hours as the figure NDSU names. The lights should be on for the same number of hours every day, whatever the weather or the time you spend in the room.
Daily light duration
| Source | Recommended daily light | Source date |
|---|---|---|
| NDSU Extension | About 16 hours | 2021-02-23 |
| University of Illinois Extension | 12 to 16 hours | 2025-03-10 |
Staying within this range is the main goal. A shorter day gives seedlings less light than the sources recommend, and a much longer one moves away from the stated range. Either way, the total number of hours is set by the timer, not by how long you think the lights have been on.
Automatic timers for consistent on-off times
NDSU Extension advises using an automatic timer that switches the lights on and off at the same times each day (2021-02-23). A fixed schedule gives seedlings a predictable daily cycle instead of irregular exposure. To apply this:
- Plug the grow light into an outlet timer, either mechanical or digital.
- Choose an on time and an off time that add up to about 16 hours (NDSU Extension), and stay within the 12 to 16 hour range given by University of Illinois Extension.
- Keep the same times every day, including weekends.
- After a power outage, check the timer and reset it, since the schedule may have shifted.
Signs of excess or insufficient light exposure
What they do establish is the schedule: a daily duration within the 12 to 16 hour range and identical on-off times. If seedlings look weak or uneven, first confirm that the timer is actually switching the lights at the intended times, then compare the daily total with the 12 to 16 hour range.
Do you need a heat mat?
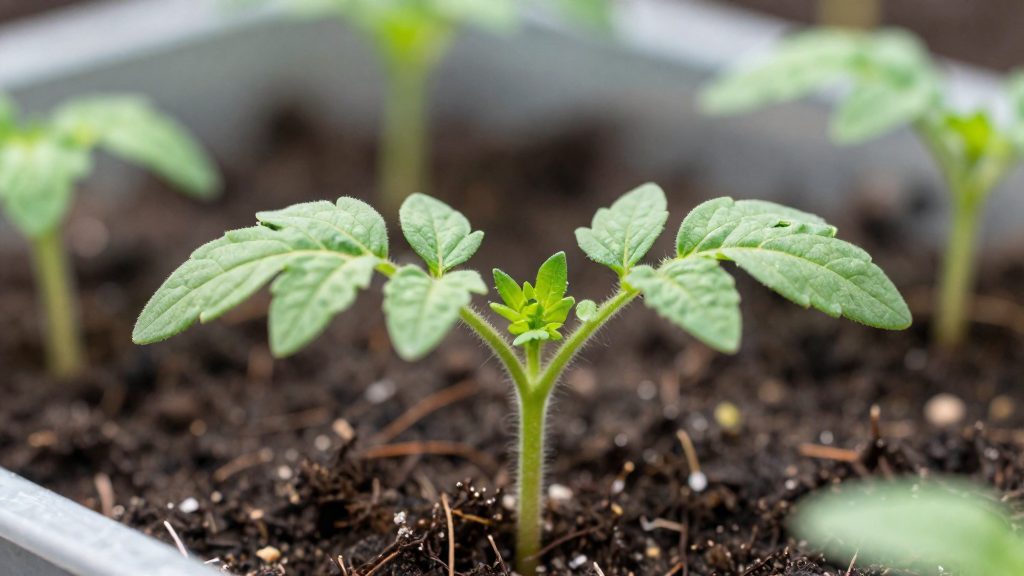
A seed-starting heat mat is an optional accessory. According to University of Illinois Extension (2025), a heat mat made for seed starting helps when the growing area is cool. The decision depends mainly on the temperature where the trays sit.
When a cool room slows germination
A cool growing area is the situation the mat is meant to correct. Cold soil or growing medium can delay sprouting, and seeds may take longer to emerge. To check your space:
- Place a thermometer at tray height, not on a shelf or near a window, and read it over several days.
- If the reading stays low, add a mat under the trays.
- If the room already feels warm, such as a heated kitchen or utility room, skip the mat and rely on the lights alone.
Choosing a seed-starting heat mat
Choose a mat sold for seed starting, as the University of Illinois Extension (2025) advice specifies. Other criteria to check:
- The mat lies flat under the tray so heat reaches the growing medium evenly.
- The product label states that it is intended for seed-starting use.
- The mat is placed on a stable, level surface where it will not slide or tip.
The official sources consulted do not specify exact wattage or temperature settings, so compare product labels for those details.
| Situation | Mat useful? | Action |
|---|---|---|
| Growing area is cool | Yes | Place a seed-starting mat under the trays |
Removing the mat and dome after germination
Once seeds have sprouted, the warmth and humidity that helped them germinate are no longer needed in the same way. University of Illinois Extension (2025) advises removing both the plastic cover and the heat mat after germination. Leaving them in place keeps seedlings in conditions meant only for sprouting. Remove the cover first, then switch off and take up the mat.
When should you start seeds indoors?
Indoor sowing dates are set by your local average last frost date, not by the calendar on a seed catalogue. Every indoor sowing date is therefore calculated by counting backward from the frost date for your own area. Frost dates vary by region and even between nearby gardens at different elevations, so the starting point should always be local.
Step 1: Find your average last frost date
- Contact your local extension service or agricultural office and ask for the average last spring frost date for your county or ZIP code.
- Treat it as an average. Some springs bring frost earlier or later than the figure suggests.
- Do not reuse a date from a neighbouring area or a general online table without checking it against local data.
Step 2: Count backward for each crop
- Mark the average last frost date as day zero on your planting calendar.
- Find the lead time for each crop, meaning how many weeks before frost it should be sown indoors. This figure is printed on the seed packet or in the variety description.
- Subtract the lead time from the frost date and write the result as the sowing date for that crop.
Tomatoes, peppers and lettuce are common examples, and each can show a different lead time depending on the variety.
Step 3: Confirm the calendar each spring
- Re-check the frost date with your extension service before sowing, since local averages can be updated.
- Compare the calendar with your own garden records if you keep notes on past frosts.
- Allow a wider margin in regions with a short or unpredictable season, and sow a little later if spring is running cold.
Hardening off before transplanting
Hardening off is the process of gradually acclimating indoor-grown seedlings to outdoor conditions. According to NC State Extension, Currituck County Center (2026-02-04), it means exposing seedlings to more sun, wind and temperature swings over several days so they are less affected by transplant shock. Seedlings raised under grow lights have never experienced direct sunlight, moving air or outdoor temperature changes, so they need a transition period before they go into the garden. University of Illinois Extension (2025-03-10) states that seedlings must be hardened off before going outdoors.
The length of each stage depends on your local weather and on how the seedlings respond.
Staged exposure schedule
| Stage | Outdoor exposure | What to do |
|---|---|---|
| Early stage | Shaded or indirect light, sheltered from wind | Place trays outside for short periods, then bring them back indoors |
| Middle stage | Gradually more sun, longer time outdoors, light breeze | Extend the time outside each day as the seedlings tolerate it |
| Final stage | More direct sun, more wind, normal temperature swings | Leave seedlings outdoors for most of the day, then plant them out |
Practical steps
- Choose a sheltered spot first. A location protected from strong wind and harsh midday sun is the best place to start.
- Increase sun exposure slowly. Move seedlings from shade into partial sun before full sun.
- Expose them to wind gradually. A light breeze strengthens stems; strong gusts early in the process can damage young leaves.
- Bring trays in when conditions turn harsh. Cold nights, heavy rain or strong wind are reasons to move seedlings back indoors until the next day.
- Water with care. Keep the soil moist without saturating it, since outdoor drying can happen faster than indoors.
Signs that seedlings are ready to transplant
The following observations are common practical checks used by gardeners:
- Stems look sturdier and do not bend excessively in the wind.
- Leaves stay upright after a full day outdoors in sun and breeze, without persistent wilting.
- Leaf color is normal, with no scorching or bleaching from sun exposure.
- Seedlings tolerate the outdoor temperatures expected at planting time.