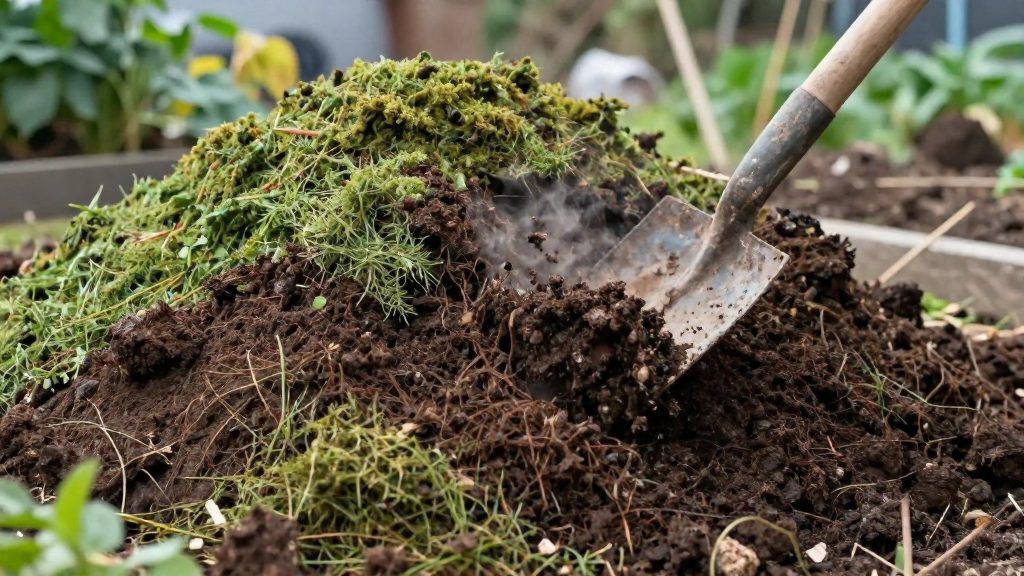
Hot composting generates heat because microorganisms break down organic matter and release energy as they work. According to the U.S. Environmental Protection Agency, this process depends on four inputs: carbon-rich materials, nitrogen-rich materials, oxygen, and moisture. When all four are present, the EPA describes a pile temperature range of 130–160°F as achievable. The heat is a result of microbial activity, so the pile’s temperature reflects how well those microbes are supplied.
What Makes a Compost Pile Hot?
Thermophilic microbes and the heat they produce
Heat-tolerant microorganisms, known as thermophilic microorganisms, multiply in the pile and generate warmth as they decompose material. The heat is concentrated in the core. According to Iowa State University Extension and Outreach, the center of a pile is considerably warmer than its outer layers, so a compost thermometer inserted into the middle shows the pile’s active temperature.
Sources give different temperature targets:
| Source | Temperature figure | How it is described |
|---|---|---|
| University of Missouri Extension | 135–140°F | Optimal |
| Iowa State University Extension and Outreach | 150–160°F | Ideal |
| U.S. Environmental Protection Agency | 130–160°F | Achievable range |
These figures do not agree on one optimum, so treat them as reference points rather than a fixed target.
Reaching a high temperature at the center does not guarantee that the whole pile is treated. According to the University of Missouri Extension, weed seeds and disease organisms can survive in cooler outer sections, so heat alone does not reliably sanitize all material.
Why carbon and nitrogen fuel microbial activity
Carbon-rich and nitrogen-rich materials supply different needs of the microbial population. Carbon-rich materials provide the energy source that keeps microbes active, while nitrogen-rich materials supply the building blocks microbes need to multiply.
- Carbon-rich examples: straw and dry leaves, which Oregon State University Extension Service (2024) lists as dry, bulky materials that also help when a pile smells of rotten eggs.
- Nitrogen-rich example: fresh grass clippings. The University of Missouri Extension notes that a pile that stays warm but never becomes hot may lack nitrogen, and adding fresh grass clippings can correct this.
- Particle size: chopping tough ingredients into smaller pieces accelerates decomposition, according to the EPA, because it gives microbes more surface area to work on.
Oxygen as an input for heat
Microbes that generate heat need oxygen. Turning the pile supplies oxygen and moves cooler outer materials into the center, according to Iowa State University Extension and Outreach. A rotten-egg odor signals low oxygen and excess moisture.
Hot versus cold composting
The defining difference of hot composting is the internal heat produced by active microbes. A well-built pile of about 0.5–1 cubic yard, with adequate moisture, porosity, and a balanced carbon-to-nitrogen ratio, should heat within a week according to Oregon State University Extension Service (2024). Completion times vary by method and management:
- Fast composting: three to eight weeks (University of Missouri Extension)
- Well-managed pile: two to four months (Iowa State University Extension and Outreach)
- General estimate: approximately three to five months (U.S. Environmental Protection Agency)
No single completion date is established across these sources, so check your own pile’s progress by temperature and by the appearance of the material rather than relying on a fixed timeline.
Choose Your Site and Pile Size
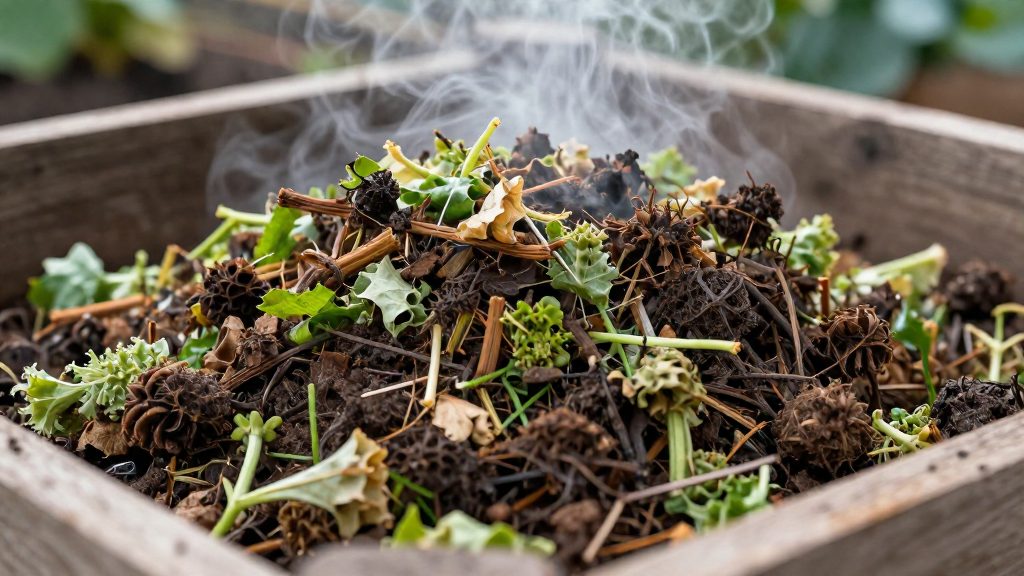
Place the pile on an accessible, well-drained spot near a water source so you can moisten materials as you build. According to the U.S. Environmental Protection Agency, composting can work in sun or shade, so the location can follow your garden layout. For size, Iowa State University Extension and Outreach recommends a pile at least 3 × 3 × 3 feet and no larger than 5 × 5 × 5 feet, a range meant to balance heat retention and airflow.
Pick a Well-Drained Spot
- Choose ground where water does not collect after rain.
- Stay within reach of a hose or watering can. The University of Missouri Extension advises moistening materials as the pile is assembled, aiming for the dampness of a wrung-out sponge.
- Set the pile directly on soil rather than on hard surfaces, so excess water can drain away.
Sun or Shade
Both locations can work, so base the choice on convenience and the space you have.
- In a sunny spot, check dampness more often, since exposed materials can dry out faster.
- In a shaded spot, dampness usually changes more slowly, but it still needs regular checks.
Dimensions That Retain Heat
Sources give different size guidance:
| Source | Recommended size | Notes |
|---|---|---|
| Iowa State University Extension and Outreach | 3 × 3 × 3 ft to 5 × 5 × 5 ft | Balances heat retention and airflow |
| Oregon State University Extension Service (2024) | About 0.5 to 1 cubic yard | For a well-built pile with adequate moisture, porosity, and carbon-to-nitrogen balance, heating is expected within a week |
A 3 × 3 × 3 foot pile is 27 cubic feet, or 1 cubic yard. Build to at least the Iowa State minimum, and keep the pile below 5 × 5 × 5 feet so it does not become difficult to manage.
Gather and Balance Browns and Greens
A hot pile depends on mixing two material groups in set proportions. The U.S. Environmental Protection Agency (EPA) recommends two to three parts browns by volume for each part greens. Measure both by volume, meaning the space each material fills, not by weight, and set the proportions before you start building.
Browns are dry carbon sources. Dry leaves and straw are the usual examples. Hot composting depends on microorganisms that need carbon-rich materials, nitrogen-rich materials, oxygen, and moisture, according to the EPA, and browns supply the carbon side. Their bulk also helps keep air spaces open.
Greens are nitrogen sources. Kitchen scraps and fresh grass clippings are the common examples. The University of Missouri Extension notes that a pile that stays warm but never becomes hot may need more material or fresh grass clippings, which can address a lack of nitrogen.
| Group | Material examples | Role in the mix | Parts by volume |
|---|---|---|---|
| Browns | Dry leaves, straw | Dry carbon source | 2 to 3 |
| Greens | Kitchen scraps, fresh grass clippings | Nitrogen source | 1 |
To turn the ratio into quantities, start from the size. Iowa State University Extension and Outreach recommends a pile at least 3 × 3 × 3 feet, which is 27 cubic feet. At 2 parts browns to 1 part greens, that means 18 cubic feet of browns and 9 cubic feet of greens. At 3 to 1, it means about 20 cubic feet of browns and about 7 cubic feet of greens. These figures are arithmetic from the ratio, so measure your own bins or piles with the same volume method.
How to Build a Hot Compost Pile
Assemble the pile in layers, starting with the base. Choose an accessible, well-drained spot near a water source, since the U.S. Environmental Protection Agency (EPA, 2025) notes that composting can work in sun or shade. According to Iowa State University Extension and Outreach, a pile should measure at least 3 × 3 × 3 feet and no more than 5 × 5 × 5 feet to balance heat retention and airflow, so size the bin or heap to fit those limits before you start.
- Chop tough ingredients first. Cut woody stems, thick stalks, and other tough material into smaller pieces before adding them. The EPA states that smaller pieces accelerate decomposition.
- Start with a base of browns. Lay dry, bulky browns such as straw or dry leaves at the bottom. Oregon State University Extension Service (2024) identifies these materials as the ones to add when a pile smells of rotten eggs, a sign of low oxygen and excess moisture.
- Add greens and food scraps. Place nitrogen-rich materials, such as fresh grass clippings and chopped kitchen scraps, on top of the base. Keep meat, dairy, and greasy foods out of the pile.
- Cover food scraps with 4–8 inches of browns. The EPA recommends this depth so that scraps are not left exposed on the surface.
- Wet each layer as you build. Moisten materials as you add them, so that the pile is damp throughout rather than dry in some layers and soaked in others.
- Repeat the sequence until the pile reaches the planned height, keeping the footprint within the size range above.
Manage Moisture, Temperature, and Turning
Once the pile is built, three routine checks keep it working: dampness, center temperature, and turning. Adjust them using hands-on checks and thermometer readings rather than a fixed calendar.
Keep the Pile Damp, Not Wet
The University of Missouri Extension recommends moistening materials as the pile is assembled, aiming for the dampness of a wrung-out sponge. To check, grab a handful from the middle. It should feel moist and hold together, with no water running out when squeezed.
A rotten-egg smell signals low oxygen and excess moisture, according to Oregon State University Extension Service (2024).
Read the Temperature at the Center
A compost thermometer lets you monitor pile temperature. According to Iowa State University Extension and Outreach, the center is considerably warmer than the outer layers, so take readings from the middle of the pile, not the edges.
Sources give different target ranges:
- University of Missouri Extension identifies 135–140°F as optimal.
- Iowa State University Extension and Outreach identifies 150–160°F as ideal.
- U.S. Environmental Protection Agency describes 130–160°F as an achievable range.
These are differing guidelines, not one agreed optimum. Use them as reference points and watch how the pile behaves.
Turn the Pile
Turning supplies oxygen and moves cooler outer material into the center. Iowa State University Extension and Outreach suggests approximately weekly turning for the fastest composting. Oregon State University Extension Service (2024) describes a first turn after three to five weeks. The right schedule depends on your method and pile conditions.
Troubleshoot by Observation
| Observation | Likely cause (per sources) | Action |
|---|---|---|
| Rotten-egg odor | Low oxygen and excess moisture | Turn the pile and add dry, bulky material such as straw or dry leaves |
| Stays warm but not hot | Pile may be too small or lack nitrogen | Add material, or mix in fresh grass clippings |
Why Is Your Pile Not Heating?
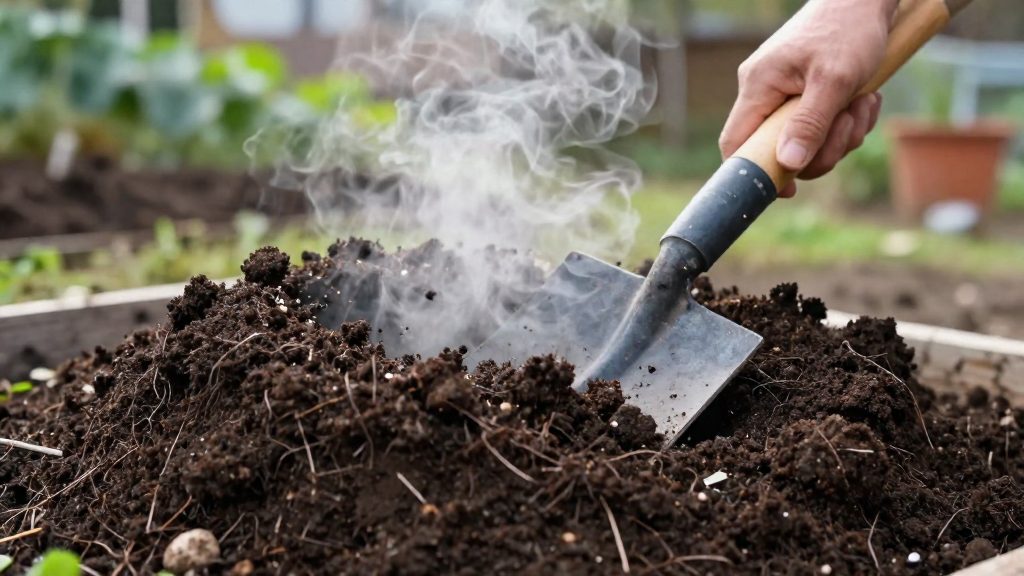
A cold pile usually traces back to one of four causes: it is too small, short of nitrogen, too wet or too dry, or short of oxygen. According to Oregon State University Extension Service (2024), a well-built pile of approximately 0.5–1 cubic yard, with adequate moisture, porosity, and a balanced carbon-to-nitrogen ratio, should heat within a week. If your pile is still cool after that period, check each factor in turn.
Check the Core Temperature
Recommended temperatures differ between publishers:
- Missouri Extension: 135–140°F identified as optimal
- Iowa State University Extension and Outreach: 150–160°F identified as ideal
- U.S. EPA: 130–160°F described as an achievable range
Measure the core temperature with a compost thermometer placed in the middle of the pile. According to Iowa State University Extension and Outreach, the center is considerably warmer than the outer layers, so a reading near the edge understates the heat inside.
Diagnose the Cause
| Symptom | Likely cause | Fix |
|---|---|---|
| Warm but never hot | Pile too small or lacking nitrogen (University of Missouri Extension) | Add material, or mix in fresh grass clippings |
| Rotten-egg smell | Low oxygen and excess moisture (Oregon State University Extension Service, 2024) | Turn the pile and add dry, bulky material such as straw or dry leaves |
| Cool, dry interior | Microorganisms lack moisture (U.S. EPA) | Moisten materials as you add them during assembly |
Address Nitrogen-Poor Mixes
Hot composting depends on microorganisms supplied with carbon-rich materials, nitrogen-rich materials, oxygen, and moisture, according to the U.S. EPA. When the nitrogen-poor mix lacks nitrogen-rich ingredients, microbial activity slows and the pile stalls. Add fresh grass clippings to restore nitrogen, then turn the pile to blend them through the mass.
Address Waterlogging and Low Oxygen
A waterlogged pile loses the air that microorganisms need. Turning supplies oxygen and moves cooler outer materials into the center, as noted by Iowa State University Extension and Outreach. Pair turning with dry, bulky materials such as straw or dry leaves to restore air spaces and absorb excess water.
When Is Hot Compost Ready?
Finished hot compost is recognized by three checks: how it looks, how it smells, and whether it still reheats when mixed. According to the U.S. Environmental Protection Agency (EPA), finished compost is dark, crumbly, and earthy smelling. The EPA also notes that once mixing no longer causes reheating and food scraps are no longer visible, the pile should cure for at least four weeks before use.
Checking the Finished Material
| Check | Finished compost | Sign the pile is not ready |
|---|---|---|
| Texture | Dark and crumbly | Recognizable food scraps still visible |
| Smell | Earthy | Rotten-egg odor, which indicates low oxygen and excess moisture (Oregon State University Extension Service, 2024) |
| Reheating | No reheating when mixed | Reheats when turned, showing decomposition is still active |
If the smell is rotten-egg, turn the pile and add dry, bulky materials such as straw or dry leaves, according to Oregon State University Extension Service (2024).
Testing Temperature Stability
After the active heating phase, the pile’s temperature should drop and stay stable. To confirm this, turn the pile and watch whether it heats up again. Iowa State University Extension and Outreach notes that a compost thermometer can track temperature, and the center of the pile is considerably warmer than the outer layers, so take readings at the center. If the center no longer reheats after mixing, decomposition is slowing.
Sieving Out Unfinished Pieces
Pass the cured material through a coarse garden sieve to separate any large pieces that have not broken down. Return these pieces to the next pile, where chopping tough ingredients into smaller pieces helps them decompose faster, as the EPA recommends. Use the sieved, finished compost for your beds once the checks above are met.