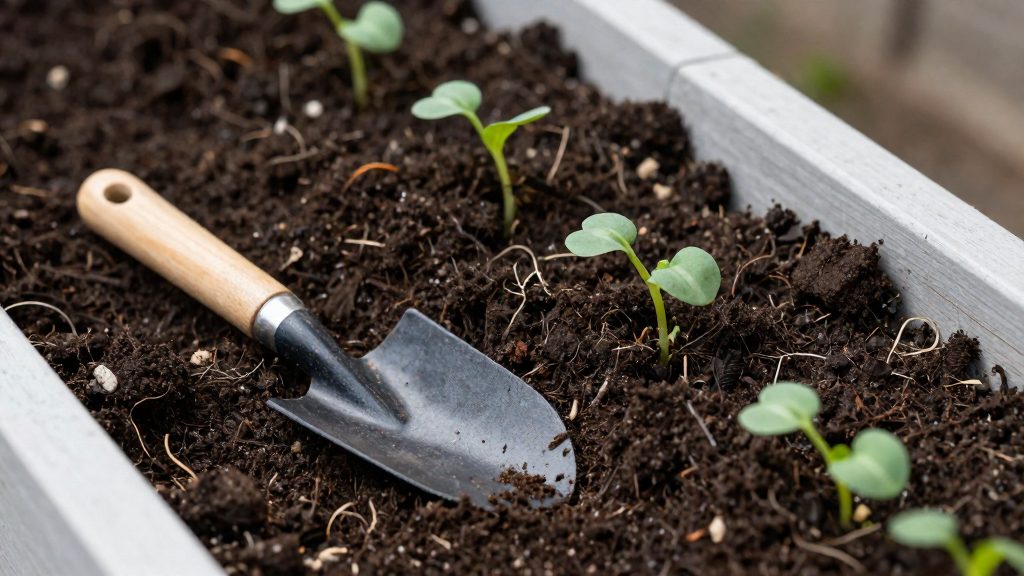
Place raised beds on a level spot that gets six to eight hours of direct sunlight daily, within easy reach of a water source, and where water drains away instead of pooling. According to University of Florida IFAS, the site should be level and near water, with that much direct sun each day. Check these conditions before buying frame or soil materials, because a bed that is already filled is difficult to move.
Where Should You Put Raised Beds?
Choose the spot first, then build. Work through the checks below in order, and record the results for each candidate location.
Sunlight: Six to Eight Hours of Direct Sun
Aim for direct sunlight of six to eight hours per day, as recommended by University of Florida IFAS. Observe the candidate spot on a clear day in the morning, at midday and in the afternoon, and note where shadows from fences, buildings or trees fall across it.
Level Ground Near Water
A level ground surface keeps the bed even and makes the frame easier to assemble. Check the level with a spirit level laid across the planned footprint. Position the bed within reach of a hose or tap. Raised beds dry out faster than conventional garden areas and may need more frequent watering during dry weather, according to Iowa State University Extension and Outreach, so a distant water source makes regular watering harder.
Drainage and Shade Before Fixing the Location
Test drainage before committing to a location: dig a test hole at the planned spot, fill it with water, and observe how long the water takes to drain. If water pools or drains slowly, ask your local extension service how to assess drainage before choosing the site. Confirm that the spot is not shaded for most of the day by trees, walls or structures.
| Criterion | Target | How to check |
|---|---|---|
| Direct sunlight | Six to eight hours daily | Observe shadows in the morning, at midday and in the afternoon on a clear day |
| Ground level | Level across the footprint | Use a spirit level laid across the planned area |
| Water access | Source within reach of a hose | Measure the hose route from the tap to the spot |
| Drainage | Water leaves the soil rather than pooling | Fill a test hole and observe the drainage time |
| Shade | Not shaded for most of the day | Check for shadows from trees, walls and structures |
Adapt these checks to your region and climate. Local agricultural extension services can confirm typical sun exposure and rainfall patterns for your area.
Which Materials Suit Organic Gardening?
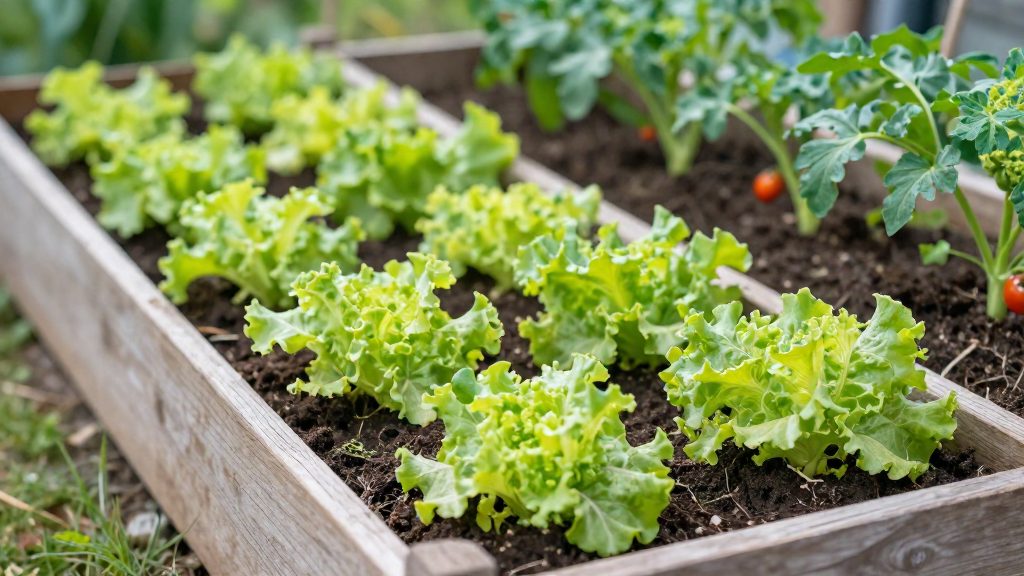
For raised-bed walls, cedar and redwood are the most clearly documented timber options. Iowa State University Extension and Outreach lists both as naturally decay-resistant choices for raised-bed walls. Untreated timber avoids the chemical preservatives used in treated lumber, but whether a treated product fits an organic system depends on the specific product and your certifier.
| Option | Documented point | Check before use |
|---|---|---|
| Cedar | Naturally decay-resistant for raised-bed walls (Iowa State University Extension and Outreach) | Confirm the species on the supplier’s label |
| Redwood | Naturally decay-resistant for raised-bed walls (Iowa State University Extension and Outreach) | Confirm the species on the supplier’s label |
| Soil mound with sloping sides | A raised bed can be built without a surrounding frame (University of Maryland Extension, 2023-11-07) | Shape the sides so the soil holds its slope |
| Pressure-treated lumber | Eligibility depends on the specific treatment | Read the product label and ask your organic certifier |
Untreated wood and chemical preservatives
Untreated wood contains no added preservative, so it suits a garden that follows natural methods. Choose boards from a supplier who can state that the wood has no coating or treatment.
Under USDA organic crop production rules, natural substances are generally allowed unless specifically prohibited, while synthetic substances are prohibited unless specifically allowed (USDA Agricultural Marketing Service). For certified organic production, assess the preservative under the applicable rules: natural substances are generally allowed unless specifically prohibited, while synthetic substances are prohibited unless specifically allowed; use restrictions and your certifier’s approval also apply. Ask your certifier before using any treated product in a bed for food crops.
Metal, stone and recycled alternatives
Metal, stone and recycled materials are common alternatives to timber for bed walls. Check each material’s performance and organic suitability with the supplier before use, so the advice below is practical.
- Ask the supplier whether reclaimed or recycled boards were treated before use.
- Check the label or the manufacturer’s instructions for any coating on metal panels.
- Choose stone or other mineral walls that do not contain added binders or sealants, and confirm this with the supplier.
Plan Bed Dimensions and Paths
A bed you can reach from both sides should be 3 to 4 feet wide. According to Iowa State University Extension and Outreach, a bed accessible from only one side should be no wider than 1.5 to 2 feet, so the centre of the bed stays within reach. Paths between beds should be at least 18 inches wide for maintenance. University of Florida IFAS recommends 3 feet where a wheelbarrow needs to pass.
| Layout | Width guideline | Source |
|---|---|---|
| Bed reachable from both sides | 3 to 4 feet | Iowa State University Extension and Outreach |
| Bed reachable from one side only | No wider than 1.5 to 2 feet | Iowa State University Extension and Outreach |
| Permanent path, general maintenance | At least 18 inches | University of Florida IFAS |
| Permanent path, wheelbarrow access | 3 feet | University of Florida IFAS |
Keep Paths Permanent to Protect the Soil
Keeping foot traffic in permanent paths is the main way to limit soil compaction in the growing area. University of Maryland Extension (2023) makes this point directly. Compacted soil holds less air and drains more slowly, which makes it harder for roots to grow.
- Mark the path positions before you fill the beds, so the layout is fixed from the start.
- Use the same routes every season rather than stepping across the beds.
- Check that path widths still meet the 18-inch minimum, or 3 feet for wheelbarrows, after the first season.
Build the Raised Bed Frame
A raised bed can be built in two ways: a framed bed with boards fixed at the corners, or a frameless soil mound with sloping sides. According to University of Maryland Extension (2023), a raised bed can be built as a soil mound with sloping sides and no surrounding frame, so the choice depends on your materials, your tools, and how much structure you want.
Framed beds: fixing the corners
- Cut the boards so the four walls form a closed rectangle, then join them at each corner.
- Fix every corner so the walls cannot splay outward. Soil pushes on the walls once the bed is filled, so a corner that is only lightly fastened will gradually spread.
- Attach each board to corner posts or to internal bracing along its length, not only at the ends.
- Before filling, measure both diagonals of the frame. If they are equal, the frame is square.
- For tall walls, add internal cross-bracing so the sides hold their shape under the weight of the soil.
Choosing fasteners
- Use corrosion-resistant fasteners, such as corrosion-resistant screws or galvanized hardware, rather than plain steel fasteners, because the timber will stay in contact with damp soil.
- Check the packaging for a rating for exterior or ground-contact use.
- Follow the manufacturer’s instructions for pre-drilling and spacing, especially near board ends, where splitting is more likely.
Frameless mounds: sloping sides instead of walls
- Pile the soil into a mound with sloping sides rather than building walls. No boards are needed, which removes the fastening steps above.
- The mound’s footprint and height should be set so you can still reach the centre from the edge without stepping onto the growing soil.
- Check soil moisture by hand before watering a mound.
- Test the soil you are using as the base and adjust the compost content to suit your site.
Prepare the Ground Without Digging
Preparing a bed site without digging starts with knowing what is already in the soil. Test the existing ground before planting any food, and include lead in the test, since the University of Maryland Extension (2026) recommends checking for lead when a raised bed will grow food. Where the site is lawn or grassy vegetation, you can smother the plants under plain cardboard and compost instead of removing them by hand. The same extension describes this method as one where vegetation typically dies within 8 to 12 weeks.
Test the Existing Soil Before Planting
Testing comes first because it determines whether the existing ground is suitable for growing food at all.
- Test before planting food. Do this before you establish the bed, not after the first crop goes in.
- Include lead. Ask the testing laboratory specifically for lead analysis, because general soil tests do not always include it.
- Follow the lab’s sampling instructions. Collect samples as the laboratory specifies, since sampling method affects the result.
- Ask your local service. Contact your regional extension office or an accredited soil testing laboratory to confirm which tests are available and how to submit samples.
Smother Lawn Vegetation Before Building
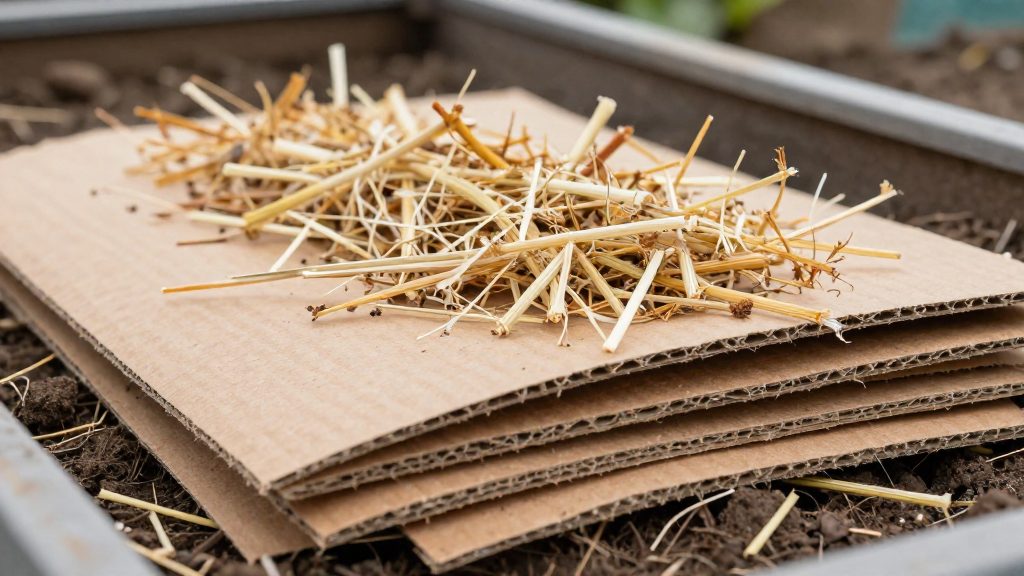
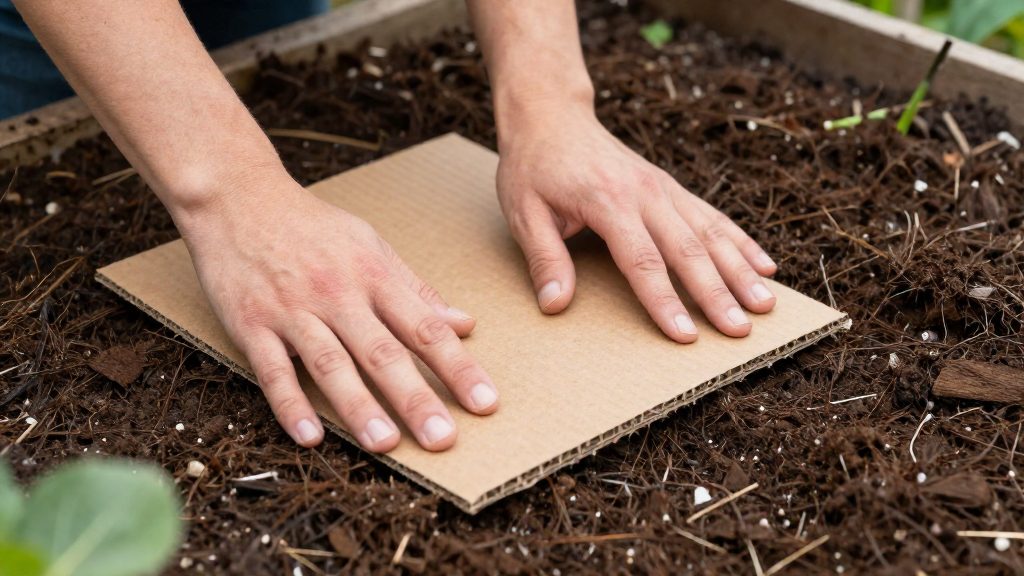
Smothering uses cardboard and compost to block light to existing plants and to add organic material on top of the ground, without turning over the soil.
- Lay down plain, unwaxed cardboard directly over the grass or vegetation.
- Remove all tape from the cardboard before laying it, so no adhesive remains in the bed.
- Top the cardboard with compost to a depth of 2 to 4 inches, as described by the University of Maryland Extension (2026).
- Wait for the vegetation to die. Allow typically 8 to 12 weeks before planting into the area.
Keep foot traffic off the smothered area during this period so the ground stays loose.
Fill Beds With Soil and Compost
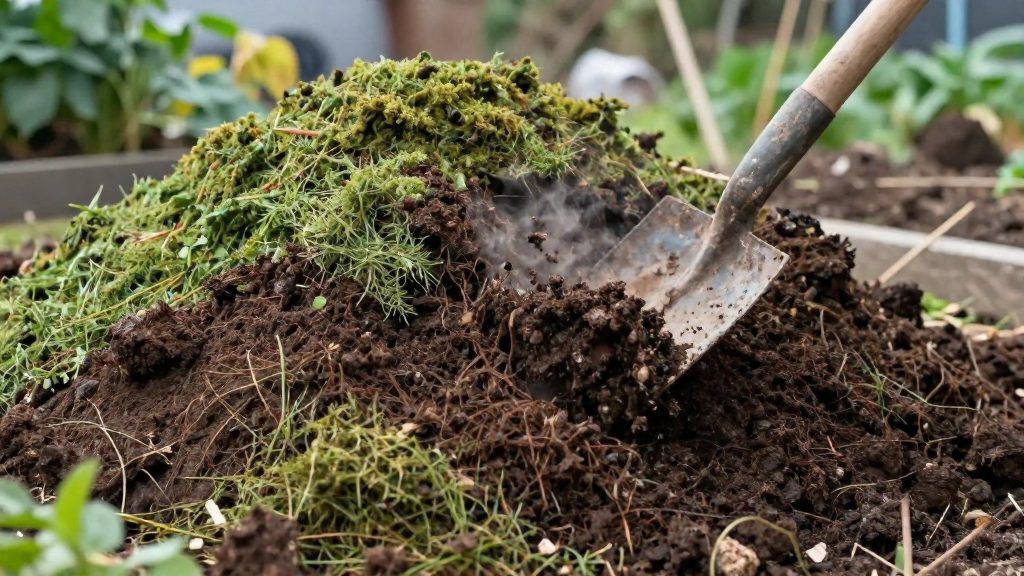
The fill mix should match the condition of the ground underneath. According to University of Maryland Extension (2026), beds over poor or compacted soil should receive compost and topsoil in a compost-to-topsoil ratio of 1:2 or 1:1. Use these ratios as a starting point and adjust them to what your soil looks and drains like.
Choosing the Mix Ratio
- Poor or compacted ground: use compost and topsoil at 1:2 or 1:1, as described above.
- Better existing soil: inspect the soil, check how it drains after rain, and ask your regional extension service which mix suits your area.
Estimating the Fill Volume
Calculate the approximate fill volume by multiplying the bed’s length, width, and fill depth, according to Iowa State University Extension and Outreach. The formula is:
- Fill volume = length × width × fill depth
For example, a bed 8 feet long, 4 feet wide, and 0.5 feet deep needs 8 × 4 × 0.5 = 16 cubic feet of mix. Convert this figure to bags or cubic yards using the volume stated on the supplier’s product label, and order slightly more than the calculation to allow for settling.
Topping Up as the Soil Settles
Fill levels drop over time, so check the bed at the start of each growing season and add a mix of compost and topsoil to restore the planned depth.
Plant and Water Your Organic Beds
Planting and watering organic raised beds depend mainly on layout, moisture checks, and prevention.
Planting Layout and Succession Sowing
Bed width determines how far you can reach without stepping onto the soil. According to Iowa State University Extension and Outreach:
| Bed access | Maximum recommended width |
|---|---|
| Reachable from both sides | 3–4 feet |
| Reachable from one side only | 1.5–2 feet |
Keep taller crops on the north side of the bed so they do not shade shorter plants, and group crops with similar watering needs together. Succession sowing means sowing a small batch of the same crop at intervals rather than all at once, and sowing the next crop in a space as soon as you harvest the previous one. Base your sowing dates on your regional frost dates and local extension calendar, since timing varies by climate.
Watering Method and Timing
- Water the soil, not the foliage. Direct water to the base of plants so the soil is moist without being waterlogged.
- Use moisture checks instead of a fixed schedule. Push a finger about an inch into the soil before watering, and check more often during dry weather.
- Avoid soaking the bed. Avoid waterlogged soil. Keep newly seeded areas consistently moist during germination; for established plants, water the root zone thoroughly and allow slight drying between waterings according to the crop’s needs.
Non-Chemical Pest Control
Organic pest management starts with prevention and physical methods. If a pesticide is needed, check the specific substance and its permitted uses: natural substances are generally allowed unless prohibited, while synthetic substances are prohibited unless specifically allowed. For certified organic production, obtain your certifier’s approval before use:
- Inspect plants regularly and remove pests or affected leaves by hand.
- Rotate crops between beds from season to season to reduce the buildup of pests that target one plant family.
- Use physical barriers such as fine netting or row covers to protect young plants.
- Choose natural substances over synthetic products.